RiderInstinct Editorial Team
Why riders use action cameras—and how to pick a purpose before you buy
Before getting into specs, mounts and settings, decide why you want an action camera. Your primary purpose determines reasonable trade-offs in size, battery life, mounting and image quality.
Common rider goals:
- Incident evidence: You want clear, admissible footage of events on the road. That prioritizes unobstructed views, steady angles and reliable timestamping over cinematic features.
- POV/ride footage: Capture the rider’s perspective for memories or social posts. You care about field-of-view, stabilization and helmet/chest mounting comfort.
- Vlogging or commentary: You want your voice and face recorded. This usually requires a helmet front-facing or external lavalier mic and attention to wind noise.
- All-round coverage: Some riders combine helmet POV with handlebar or rear-facing cameras for multi-angle capture; this increases complexity and power needs.
Deciding the use case first helps avoid common decision traps—like buying a tiny POV cam for evidence when a handlebar-mounted, wired dashcam would do a better job of capturing the scene behind you.
Once you know your purpose, you can apply a simple decision framework: mount type & safety, stabilization, image quality (and file size), audio needs, battery/charging and ruggedness. This guide walks through each area so you can match features to the purpose you chose.
Core technical features explained (so you know which specs matter)
Technical specs—resolution, frame rate, field of view, bitrate, codec and stabilization—interact. Understanding what they do in practice helps you pick the right camera without being distracted by marketing numbers.
- Resolution and frame rate: Higher resolution (4K vs 1080p) gives more detail but increases file size and battery use. Higher frame rates (60fps vs 30fps) give smoother motion and allow slow motion. For incident capture, a stable 1080p/60 file can be more useful than shaky 4K.
- Bitrate and codec: Bitrate controls image quality at a given resolution. A low-bitrate 4K file can look worse than a higher-bitrate 1080p file. Many cameras use efficient codecs (HEVC/H.265) that save space but can complicate editing—check your editing workflow compatibility.
- Field of view (FOV): Wide FOV captures more but introduces fisheye and makes distant detail smaller. Narrower FOV crops background but enlarges subjects. For evidence, a balanced FOV that clearly shows license plates at typical following distances is often preferable.
- Stabilization: Optical or sensor-based stabilization makes footage usable on a vibrating motorcycle. Some cameras use electronic stabilization that crops the image. For POV rides, stabilization greatly improves viewer comfort.
- Audio: Wind noise is the enemy. Built-in mics on helmet or handlebar mounts often capture unusable wind-dominated audio. Consider external mics or post-processing tools if audio matters.
- Connectivity and features: Wi‑Fi, Bluetooth, GPS and live streaming can be useful but add to battery drain. GPS and timestamping are particularly helpful for incident documentation—verify how a camera records and exports that data.
Don’t choose on pixel-count alone. Match resolution, stabilization and bitrate to your use case and to your ability to store and edit large files.
Mounting options: trade-offs, safety and helmet considerations
Mounting is the most important practical decision. A secure, vibration-free mount that doesn’t compromise safety is more valuable than a marginally better camera body.
Common mounts and trade-offs:
- Helmet mounts (chin, top, side): Provide a true POV. Chin mounts point where you look; top mounts sit higher and show more road but can feel less immersive. Helmet mounts can produce head-bob footage unless paired with strong stabilization. Important: do not drill, cut or glue things into a helmet without checking the helmet manufacturer’s guidance—altering a helmet can void certifications and compromise safety.
- Chest mounts: Stable and immersive lower-angle POV, less head-bob than helmets. They obstruct less peripheral vision but change the perspective. Good for stable scenic footage but can obscure handlebars or instrument clusters.
- Handlebar or clamp mounts: Shows the bike and road together; useful for incident capture because it stays with the bike. Watch out for vibration transfer—some bikes have pronounced handlebar vibration that affects footage.
- Rear and tail mounts: Useful for recording traffic behind you or for cinematic chase shots. Mount security and field-of-view are key; removable plates or reinforced mounts are advisable.
- Magnetic and suction mounts: Convenient but can fail under vibration, weather or at speed. Use only high-quality units rated for your weights and speeds and consider redundancy on longer rides.
If you plan helmet mounting, consider straps or helmet-specific mounts designed to work without modifying the shell. RiderInstinct has a review of a compatible helmet chin mount that fits many popular action cameras—check product fitment and installation instructions before purchase: Haoyou Helmet Chin Mount Strap.
How to mount without compromising safety
Mounts that appear secure can still introduce risk if they change helmet behavior in a crash. Follow these principles:
- Prefer non-invasive mounts: Straps, adhesive pads designed for helmets, or mounts that clamp to non-structural parts are safer than drilling or gluing into the shell.
- Check manufacturer guidance: Helmet makers often state whether adding accessories is allowed and where. If in doubt, contact the manufacturer rather than guessing.
- Keep mass low and centered: Heavy extensions increase rotational forces in a crash. Choose compact cameras or use mount positions that keep weight close to the helmet surface.
- Test mounting security at low speed: Before trusting a mount on a longer ride, test it on short, low-speed runs to confirm nothing loosens or interferes with helmet straps or vision.
- Positioning and peripheral vision: Make sure the camera doesn’t obstruct your field of view, mirror sightlines or helmet venting. Anything that distracts or obstructs is unacceptable.
When in doubt, use bike-mounted cameras or purpose-built dash cams for incident evidence and keep helmet mounts for scenic POVs where the risk trade-offs are reasonable.
Audio and wind noise: realistic expectations and practical fixes
Motorcycle wind noise makes onboard audio the hardest element to capture cleanly. Understand the limits and choose the appropriate mitigation strategies.
- Built-in microphones: Convenient but often overwhelmed by wind. Useful for ambient sounds and engine tone, not reliable for clear speech at speed.
- Helmet-mounted external mics: A mic tucked under the chin or behind the lip of the helmet can capture better speech but still needs wind protection (foam or furry windscreens). Verify helmet manufacturer guidance before routing cables or attaching mics.
- Lavalier (clip) mics and wireless packs: Clip a mic under clothing near the neck or inside the helmet lining. This usually gives the best speech intelligibility but requires careful cable routing and attention to waterproofing.
- Post-processing: Noise reduction plugins and equalization can help, but you can’t reliably reconstruct unintelligible speech. Always try to capture the best raw audio you can.
If clear voice is critical—such as for guided rides or commentary—plan your mounting and mic approach in advance and test at speed. For incident recording, audio can help but is secondary to clear visual evidence.
Power, storage and file management for long rides
Action cameras consume battery and storage quickly, especially at high resolution and frame rates. Plan for how you’ll power and manage files during multi-hour rides.
- Battery strategies: Carry spare batteries if the camera has removable cells. For fixed-battery cameras, use a handlebar-mounted power bank or an in-bike wired power solution. Verify any wired connection to your bike is fused and professionally installed if you’re not comfortable with electrical work.
- Storage: High-resolution video fills microSD cards fast. Use high-quality, high-endurance cards from reputable brands and carry spares. Format new cards in the camera before first use and periodically back up footage to avoid data loss.
- File management: Large files require efficient workflows—consider periodic clip trimming on the go or use a field laptop/portable SSD for offloading after long rides. Keep at least two copies of important footage if you expect to use it for incidents.
- Heat and recording limits: Some cameras limit continuous recording times because of heat. Verify manufacturer documentation for recording limits and recommended operating temperatures; don’t assume continuous 4K recording is safe in hot conditions.
Planning battery and storage reduces the chance you’ll miss the moment you wanted to capture, and protects important incident footage from accidental overwrite.
Durability and weatherproofing: what to expect
Riding exposes gear to rain, dust, vibration and impacts. Consider how the camera and mounts handle these conditions.
- Built-in waterproofing vs housing: Some cameras are weather-sealed without extra housing; others need an external case. A sealed camera usually has better audio capture, but housings offer extra protection from impact.
- Vibration resistance: Metal-bodied cameras and well-damped mounts resist wear from vibration better than plastic housings and cheap mounts. Vibration affects not only footage but also connectors and microSD sockets over time.
- Temperature tolerance: Batteries perform poorly in very hot or very cold conditions and plastics can become brittle. Check operating temperature ranges in manufacturer documentation for your planned riding environments.
- Serviceability: Replaceable batteries, durable connectors and easy-to-open mounts make field repairs or swaps easier than sealed, integrated designs.
For regular riding, prioritize rugged mounts and weather protection over exotic resolution claims. A well-mounted 1080p camera that survives in wet conditions is more useful than a fragile 4K camera that struggles in rain.
Practical capture and editing workflow for riders
Having a repeatable workflow keeps footage organized and helps retain evidence quality if you need it later.
- Pre-ride checklist: Verify mount security, battery charge, available storage and correct camera orientation. Do a short test recording to confirm settings and audio.
- During the ride: When possible, mark or note times and locations of events you may need (phone timestamps or a simple ride log). If you witness or are involved in an incident, stop safely as soon as possible and preserve power and footage—avoid overwriting cards or editing before backups.
- Offloading footage: Transfer files to a laptop or portable SSD and make at least one backup. Keep originals untouched if you plan to use footage for claims.
- Editing and compression: Trim conservatively when preparing evidence; keep raw footage archived. For social clips, transcode to friendly formats and lower bitrates to make uploads easier.
- Long-term storage: Keep important evidence on multiple media and consider cloud storage with verifiable timestamps for critical incidents.
A simple, practiced workflow reduces the chance of losing or corrupting footage when it matters most.
Legal, privacy and evidence considerations every rider should know
Action cameras intersect with legal and privacy topics. Rules vary by jurisdiction, so this is a practical overview—not legal advice. Verify your local laws and check with your insurer or legal advisor for specific guidance.
- Local laws and helmet rules: Some jurisdictions have restrictions about recording or mounting on helmets, or about obscuring helmets with attachments. Check traffic and helmet laws where you ride.
- Privacy of others: Recording in private spaces, recording passengers without consent or live-streaming in sensitive situations can have legal consequences. Be aware of local privacy laws.
- Using footage as evidence: Courts and insurers may accept dashcam or helmet footage, but chain-of-custody, timestamps and original files are important. Avoid editing or compressing original files before providing them for claims.
- Insurance and policy disclosures: Some insurers have specific policies about camera use or require disclosure for certain modifications. Confirm whether your camera mounting or wiring affects any insurance terms.
When in doubt, document everything carefully, keep original files intact and consult local regulations and professionals for serious incidents.
Choosing and buying: a quick decision checklist and learning links
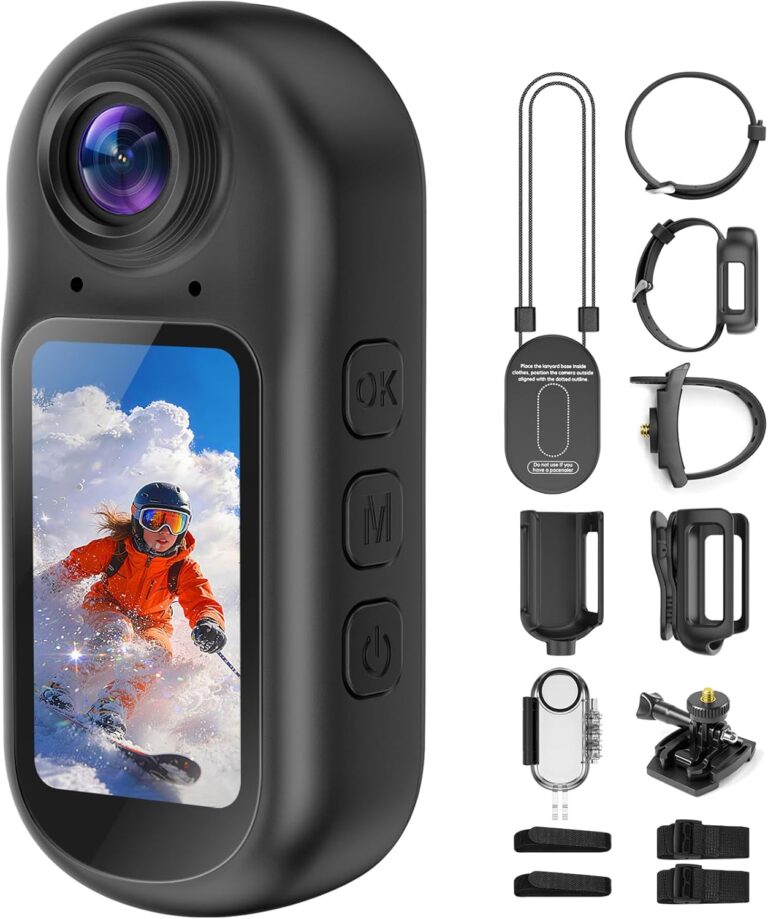
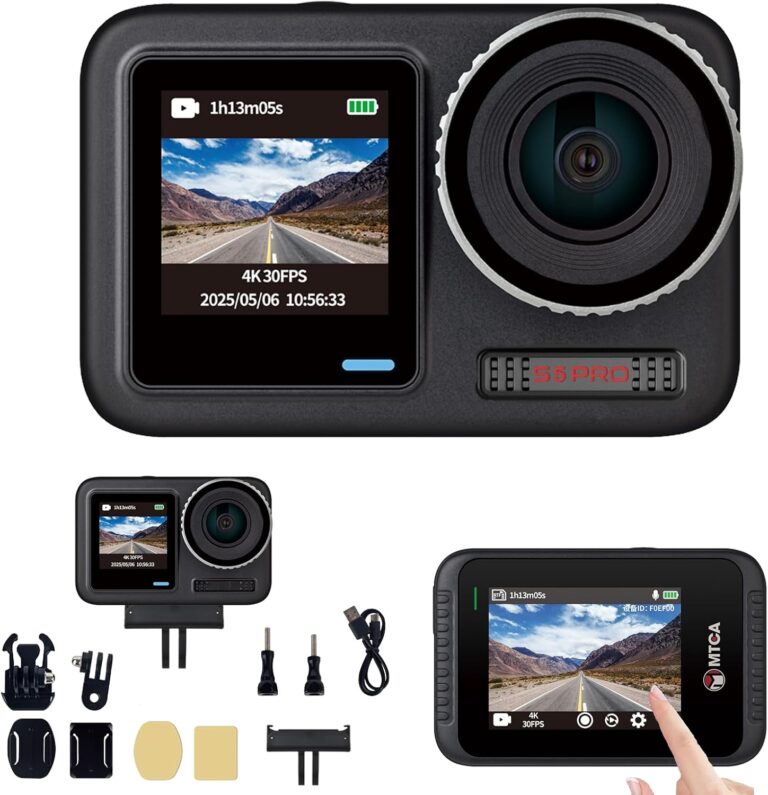
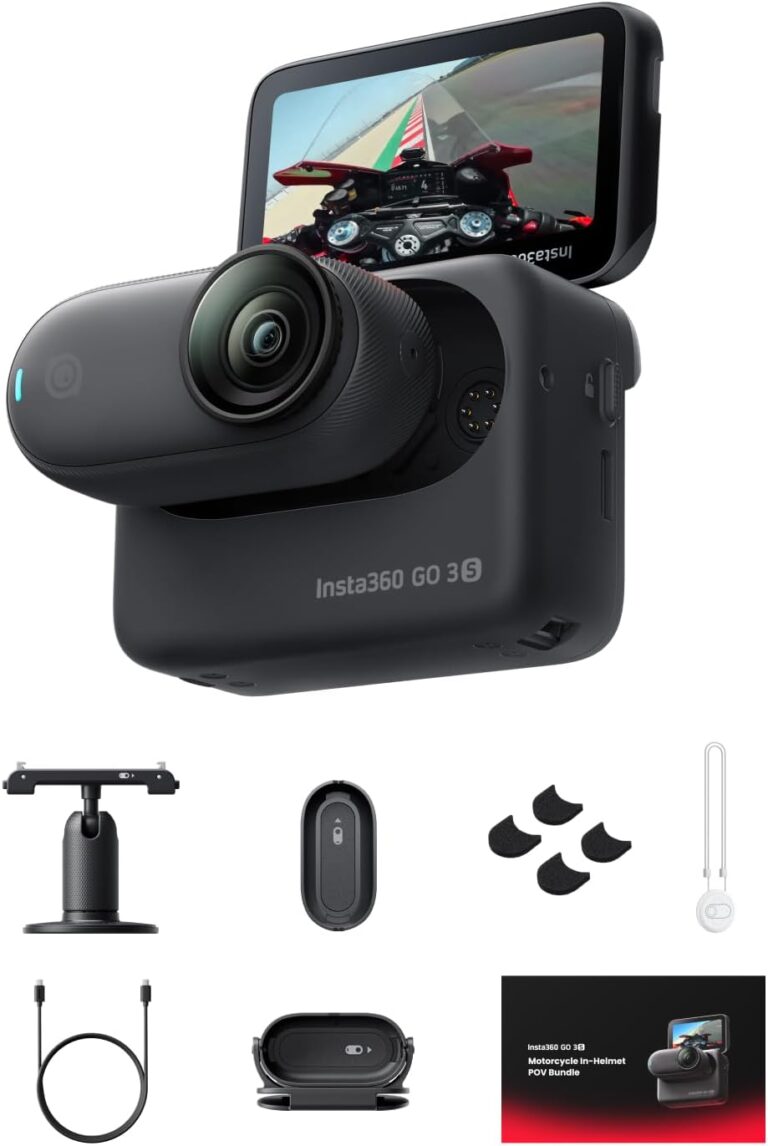
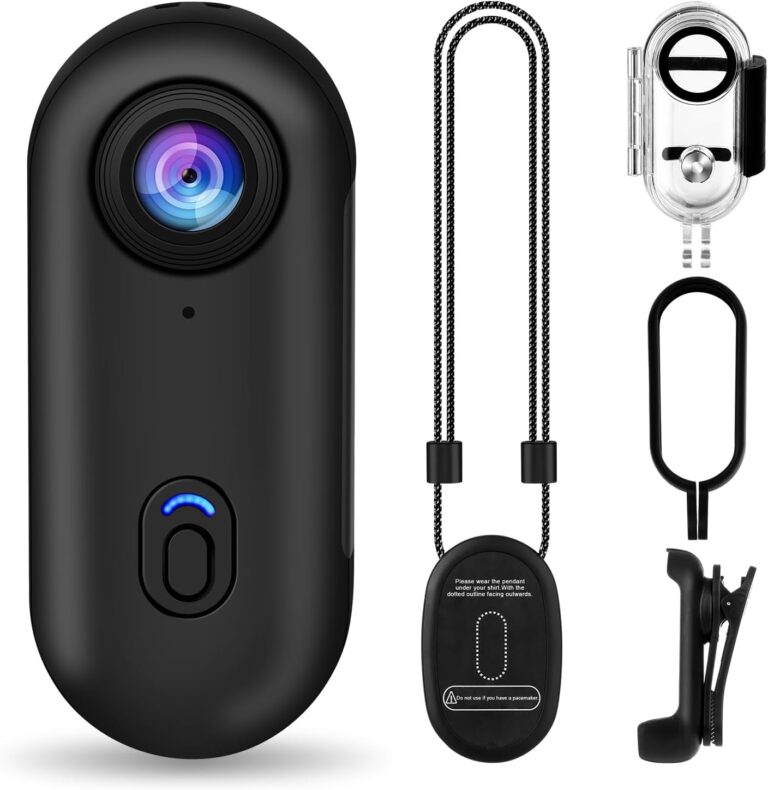
After you’ve read the technical and practical sections above, use this short checklist to choose a camera and start riding with it safely. For a deeper shopping tutorial, see RiderInstinct’s Action Cameras Buying Guide: Action Cameras Buying Guide for Beginners. For comparisons of tiny POV cams, see this head-to-head piece: Insta360 GO 3S In-Helmet POV Bundle vs i3 4K Thumb Action Camera.
Key buying considerations:
- Match camera size and mounting options to your chosen use case.
- Prefer cameras with proven stabilization for POV riding.
- Verify battery life and whether spare batteries or external power are practical for your rides.
- Check mount ecosystem and available accessories—helmet mounts, adhesive pads, handlebar clamps and protective housings.
- Read actual user reviews and RiderInstinct reviews for real-world notes on vibration, audio and durability.
If you want a simple accessory to start with, a helmet chin-strap mount is a low-cost way to experiment with POV filming before committing to an integrated system—see the Haoyou Helmet Chin Mount Strap review and compatibility notes in our product coverage: Haoyou Helmet Chin Mount Strap. Remember to verify compatibility with your camera and helmet model.