RiderInstinct Editorial Team
Why a helmet matters: the protective role and realistic limits
A helmet’s primary job is to reduce the risk of head injury in a crash. It does this by absorbing energy in a controlled way and by providing a hard outer surface that resists penetration and abrasion. Helmets also protect your face, eyes and ears from wind, debris and weather, and can reduce fatigue by smoothing airflow.
It’s important to be realistic about what a helmet can and cannot do. A helmet reduces the probability and severity of certain head injuries, but it cannot make high‑energy impacts safe. No helmet can prevent injury in every scenario—factors like impact speed, angle, and secondary impacts matter. Because of that, fit, condition and certification are critical: a poorly fitting or degraded helmet will not perform as intended.
Before you buy, decide what you need the helmet to do: street commuting, high‑speed touring, off‑road riding, or low‑speed city errands each pose different demands. This decision drives choices about coverage, ventilation, weight, and features such as integrated communications or Pinlock-ready visors.
Helmet types and the trade-offs you should weigh
Helmets fall into several broad categories. Each emphasizes different priorities—protection, convenience, ventilation or visibility. Understanding trade-offs helps match the helmet to your intended use.
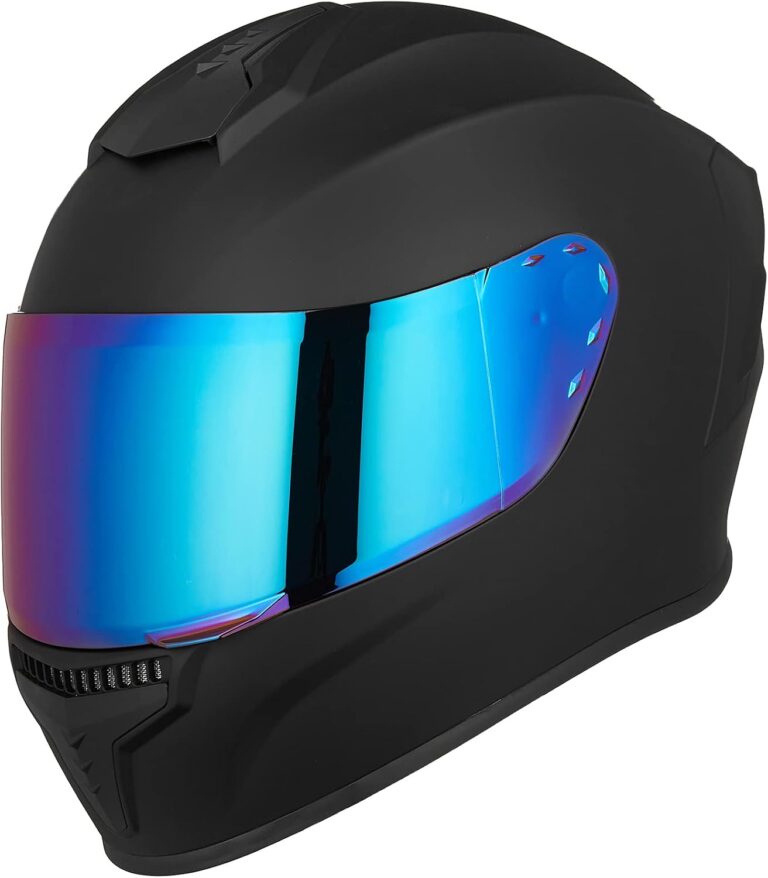
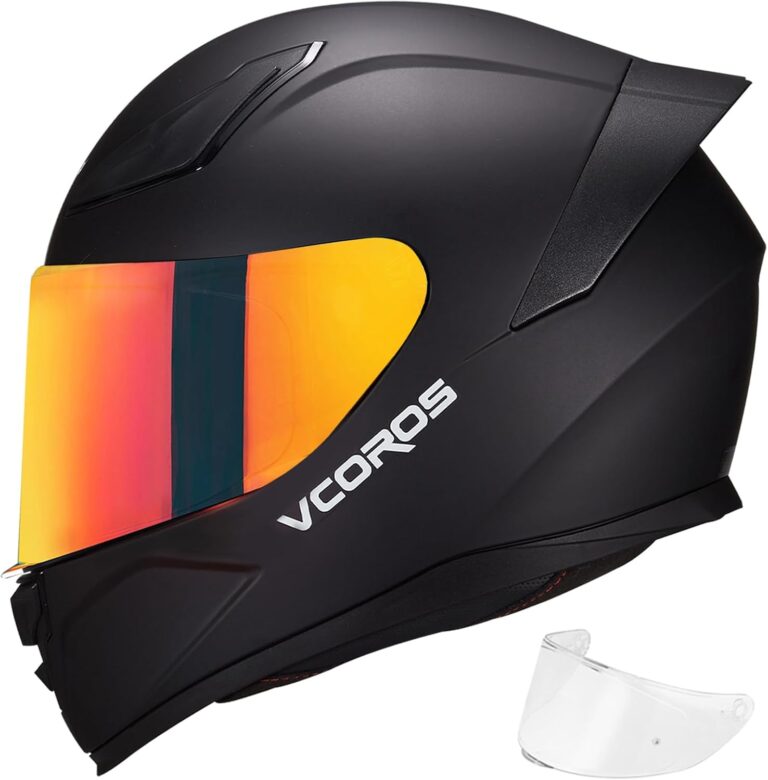
- Full-face: Offers the most frontal and facial protection and the best wind/noise/eye protection. Trade-offs: usually heavier and warmer than open-face designs.
- Modular / flip-up: A hinged chin bar allows an open-face configuration for convenience (talking at stops, eating, etc.). Trade-offs: modular mechanisms add weight and complexity, and some models may offer slightly less impact performance than comparable full-face helmets—check manufacturer documentation and fit.
- Open-face / 3/4: Better visibility and airflow; less protection for the face and jaw. Good for low-speed urban riders who prioritize field of vision.
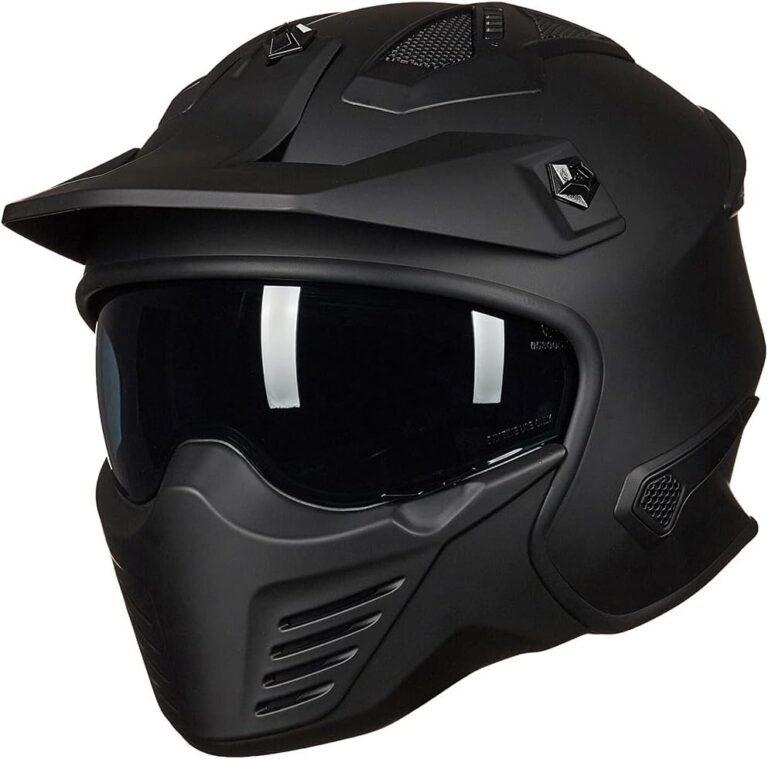
- Off-road / motocross: Extra chin-bar clearance and a pronounced peak for roost protection. Typically used with goggles; less wind protection on highways.
- Dual-sport / adventure: A compromise between off‑road ventilation and street comfort—usually compatible with visors and goggles.
- Half-helmets: Minimal coverage—legal in some jurisdictions but provide limited protection compared with full-coverage designs.
When choosing type, think about the environments you ride in: long highway miles often favor full-face helmets with good ventilation and low noise levels; remote adventure rides may favor dual-sport helmets with easy visor/goggle transitions; urban scootering may prioritize open-face visibility and light weight.
Certifications and what they mean for riders
Helmets are tested and certified by regulatory bodies to ensure they meet minimum performance standards. Common certifications include DOT (U.S.), ECE 22.06 (Europe), Snell (voluntary, more stringent in some tests), and others. These standards differ in test procedures and acceptance criteria.
Key points for riders:
- You should verify the helmet carries a valid certification label or sticker for the market where you will use it. Manufacturers typically list certification information in product documentation—confirm it before purchase.
- Some regions accept multiple standards; others require a specific one. Check local laws and insurer requirements if compliance matters for legal or coverage reasons.
- Labels can be counterfeited. Buy from reputable dealers and double‑check the manufacturer’s website for model certification details if you have doubts.
Certification is necessary but not sufficient—fit, construction quality and condition matter equally. Two helmets with the same certification can feel and perform differently based on shell design and fit systems.
Fit, sizing, and how to judge a proper fit
Proper fit is the single most important factor after certification. A helmet that doesn’t stay positioned on your head during impact can’t protect correctly. Fit is about both shell size and interior geometry.
How to approach fit:
- Measure and try: Measure your head circumference where the helmet will sit—typically across the forehead above the eyebrows. Use that as a starting point, then try helmets in that size range.
- Feel for even pressure: A new helmet should be snug all around without sharp pressure points. It should press evenly against your temples, forehead and the area behind your ears. Cheek pads should hold your cheeks firmly.
- Movement check: With the chin strap fastened, move the helmet up/down/side-to-side. Your skin should move with it; the helmet shouldn’t shift independently. Some small forward/back movement is normal but it should return to position quickly.
- Break-in vs permanent fit issues: Some liners compress and conform slightly over a short break-in period. But persistent hot spots or significant looseness are signs the shell shape is wrong for your head and you should try a different model.
- Glasses and accessories: If you wear prescription glasses, try them on with the helmet to ensure they seat comfortably. If you plan to install speakers or a comms system, consider models with dedicated speaker pockets.
Different manufacturers use different internal shapes (round, intermediate oval, long oval). Trying helmets in person at a shop is strongly recommended because fit is highly individual. If you buy online, confirm the return policy and measure carefully.
Materials, construction and rotational-impact mitigation
Helmet performance depends on shell material, liner design and assembly quality. Common shell materials include polycarbonate/ABS, fiberglass composite, and carbon fiber—each balances weight, cost and stiffness differently. The interior liner usually uses EPS (expanded polystyrene) foam; many helmets use multi-density EPS layers to tune energy absorption across areas.
Rotational forces are increasingly recognized as a contributor to brain injury. Some helmets include dedicated rotational-impact mitigation systems (examples: low-friction liners, rotational layers) designed to reduce angular acceleration during oblique impacts. Claims and designs vary by manufacturer—verify the exact technology and independent test results with the manufacturer if rotational protection is a deciding factor for you.
Trade-offs to consider:
- Weight vs protection: Lighter materials (carbon fiber) tend to be more expensive; heavier materials may feel more stable at speed. Choose what you can comfortably wear for the duration of your rides.
- Ventilation vs noise: Aggressive venting improves cooling but can increase wind noise—important on long rides.
- Cost vs engineered features: Higher-priced helmets often include multiple shell sizes for better fit, improved liners and advanced ventilation. Budget helmets can meet minimal safety standards but may compromise on comfort or noise control.
Because manufacturers’ claims differ and testing protocols vary, ask the manufacturer for detailed specifications, independent test reports (if available), and installation instructions when considering advanced technologies.
Visors, optics, fogging and maintenance
Visors affect visibility and comfort more than many riders expect. Consider optical clarity, anti‑fog treatments, scratch resistance and sun protection.
Practical guidance:
- Optical clarity: Inspect the visor at eye level for distortion when trying a helmet. Distortion can be disorienting at speed.
- Anti-fog options: Pinlock-ready visors accept an insert that provides a secondary air space and significantly reduces fogging in many conditions. Some helmets include Pinlock-ready visors—check product pages or reviews (for example, see the HAX Onix review for mention of Pinlock compatibility) for details.
- Sun protection: Some helmets have integrated drop-down sun visors; others require tinted shields. Consider your typical light conditions and choose accordingly.
- Cleaning: Use mild soap and water and a soft microfiber cloth. Avoid solvents or household cleaners—these can damage coatings. For stubborn bugs, soak the visor in warm soapy water first before wiping. Replace a visor that is deeply scratched because scratches scatter light and reduce clarity.
- Replacement: Replacing a visor should be done with manufacturer parts to maintain fit and sealing. Keep spare visors if you change between clear and tinted shields often.
Visor seals and the host helmet’s installation tolerances matter for wind noise and water ingress—if you notice significant leaking or whistling, investigate the visor hinge and seal and consult the manufacturer’s service information.
Communications, integration and aftermarket modifications
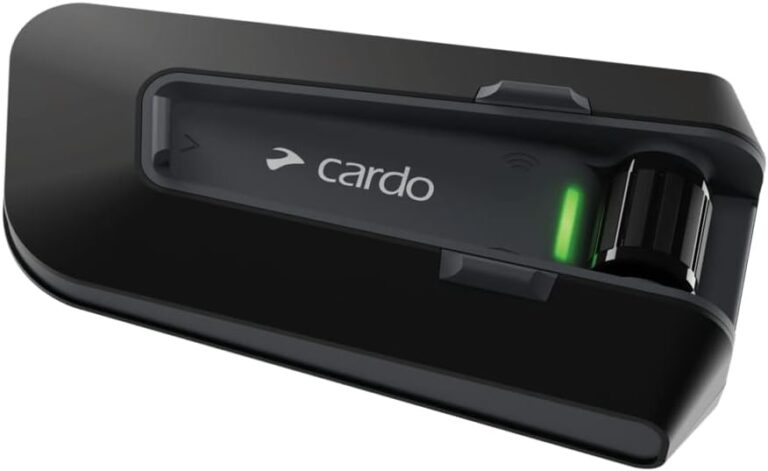
Modern riders often add Bluetooth intercoms and communications systems. Integration can be as simple as stick-on speakers and a microphone, or as advanced as helmets with built-in systems. Both approaches require careful consideration to avoid compromising fit or certification.
Key points:
- Integrated vs add‑on: Integrated helmets (some modular designs include factory-fitted comms) simplify installation but check reviews and manufacturer documentation for performance and replacement options. For examples of integrated modular helmets and communications comparisons, see the ILM 953 review and the Cardo Packtalk vs ILM comparison article linked below.
- Speaker pockets: Many helmets include cutouts for speakers. Using helmets without specified pockets may require shaving foam or cutting liners—this can invalidate warranties or affect the protective performance. Always follow manufacturer guidance.
- Microphone placement: For full-face helmets, a boom microphone offers better voice clarity than a wired throat mic, but route cables and mics to avoid pressure points.
- Water ingress and charging: External control units and charging ports need water-resistant fit and secure attachment to avoid damage. Use approved mounting hardware.
Before adding any system, confirm compatibility with the helmet model and read both the comms and helmet manufacturers’ instructions. If you want to compare popular systems and integrated options, the Cardo Packtalk Neo and Packtalk Edge reviews, and RiderInstinct’s comparison of an integrated ILM modular helmet, are useful resources.
Lifespan, crash replacement and storage best practices
Helmets don’t last forever. EPS liners age and can become brittle; straps and retention mechanisms wear; exteriors degrade in sunlight. Manufacturers set recommended service life for models—check the user manual for exact guidance.
Practical rules most riders follow:
- Replace after impact: If a helmet is involved in a crash or receives a significant impact—even if there’s no visible damage—replace it. Internal liner damage may not be visible yet can compromise protection.
- Manufacturer service life: Many manufacturers recommend replacement within a range (often several years) depending on use and storage, but exact timelines vary—verify with the helmet maker for the model you own.
- Routine inspection: Check shells and visors for cracks, foam for dents or decomposed areas, straps for fraying, and fasteners for corrosion. Replace parts or the helmet as needed per manufacturer guidance.
- Storage: Store helmets in a cool, dry place away from direct sunlight and away from solvents, oils, or fuels that can degrade the materials. Avoid hanging helmets by straps for long periods; use a shelf or helmet bag.
Paint and adhesive stickers can affect shell materials. Use manufacturer-approved paints and decals when customizing, and avoid thick adhesives near vents or seals. If in doubt, consult the manufacturer’s care instructions.
How to buy: practical checklist and purchasing tips
Purchasing a helmet is a process—don’t rush it. Try several models, prioritize fit and certification, and consider return options if buying online.
Buying tips:
- Try before you buy: Fit varies by brand and model. Visit a trusted shop to try multiple helmets, even if you plan to order online later.
- Bring what you’ll use: Wear your glasses, communications gear, or balaclava when trying helmets to check compatibility and fit.
- Ask about warranty and crash policies: Some manufacturers offer crash replacement or prorated warranty replacements—get the details in writing.
- Compare total cost: Factor in replacement visors, Pinlock inserts, and comms system costs when setting a budget. Higher initial cost can be justified by longer comfort and lower noise on long rides.
- Read independent reviews: Use reputable reviews that discuss fit, ventilation, noise and certification. RiderInstinct’s Helmets Buying Guide is a good starting place for beginners, and product reviews (for example, the HAX Onix and AUBOA MD‑813 reviews) can illustrate trade-offs across price points.
Finally, remember: function over fashion. A helmet that looks great but doesn’t fit correctly or meet certification standards isn’t worth the risk.