
Moving into an independent living home is a major life change that can feel both exciting and overwhelming. Good preparation turns stress into confidence: practical planning, targeted downsizing, and thoughtful setup make the new space comfortable, safe, and functional from day one.
This guide breaks the process into manageable steps, with clear priorities for safety, health, mobility, daily routines, and communication. Follow the checklist and tips below to make the transition smoother for the resident and their family.
Start Early and Make a Realistic Plan
Begin planning at least 6–8 weeks before the move. Create a timeline with dates for visits, paperwork, and packing. Identify key contacts at the new community (move-in coordinator, nurse, activities director) and gather essential documents: ID, insurance, medical records, power of attorney, medication lists and emergency contacts.
Assess the New Space for Safety and Accessibility
Before moving furniture or boxes, walk through the unit and note potential hazards and modifications. Look for slippery surfaces, narrow walkways, and bathroom risks. Consider grab bars, non-slip mats, raised toilet seats, and other aids to reduce fall risk; these items fall into basic Bathroom Safety solutions that many residents find helpful during the first weeks.
Sort, Downsize, and Prioritize Belongings
Downsizing is often the most time-consuming task. Use a three-box approach: Keep, Donate/Sell, and Recycle/Discard. Prioritize everyday items: clothing for current season, comfortable shoes, favorite bedding, and a small selection of personal keepsakes. Label boxes clearly by room and contents to speed unpacking and avoid lost items.
Organize Healthcare and Medications
Set up a reliable medication routine before arrival. Consolidate medications, create an up-to-date list with dosages and times, and prepare a spare list for the community’s care team. Use dedicated medication organizers to arrange pills by day and time, and consider electronic medication reminder devices for alerts and added safety. Share this information with the independent living staff and the resident’s primary care provider.
Set Up the Kitchen for Independence
Make the kitchenette functional but minimal. Choose items that support independent meal prep and reduce spill or burn risk. Stock small-batch meal ingredients, single-serve seasonings, and easy-clean cookware. Useful additions include lightweight meal containers and tools to simplify portions and reheating.
Invest in practical products like meal prep containers for portioned leftovers and lunches, and add kitchen safety tools for seniors—non-slip mats, insulated grips, and easy-open lids—to reduce hazards and help maintain independence.
Prepare the Bedroom for Comfort and Night Safety
The bedroom should support sleep, dressing, and nighttime mobility. Place the bed so it’s easy to get in and out of, keep a clear path to the bathroom, and add a night light for evening trips. Choose bedding and pillows that match comfort needs and any health guidance.
Consider items from the Bedroom Comfort & Support category to improve sleep posture and reduce joint strain, especially if the resident uses multiple medications or has chronic pain.
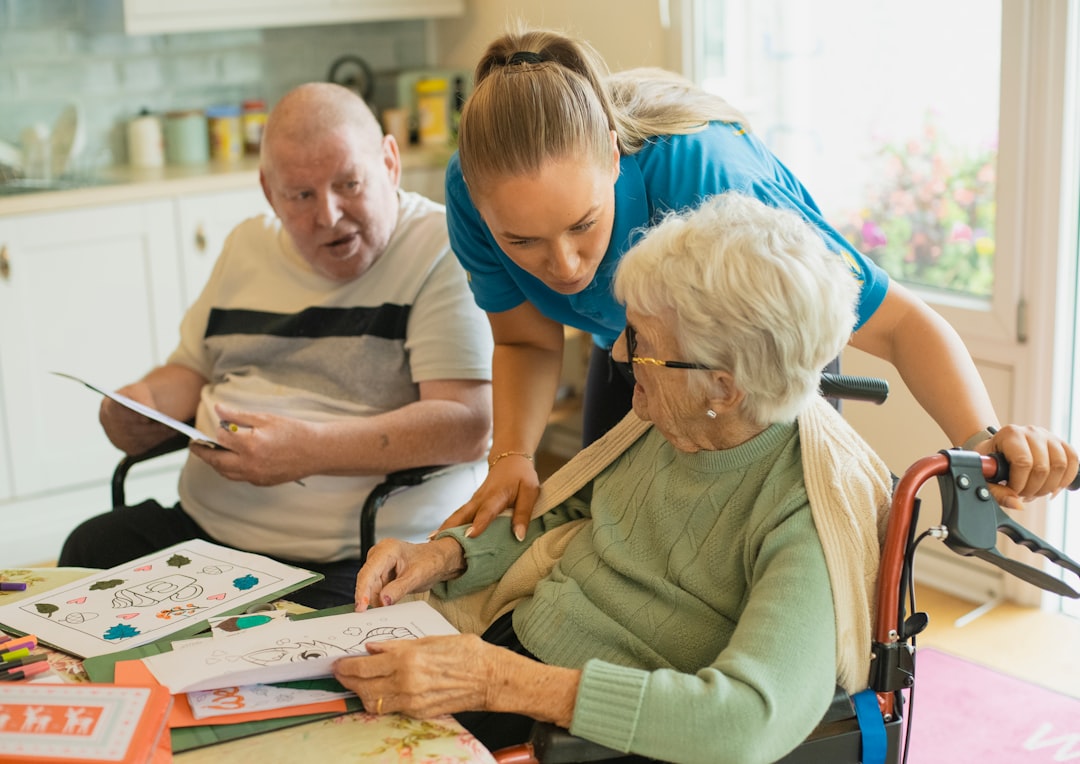
Plan for Mobility and Daily Activities
Assess whether the resident needs mobility aids in the unit and common areas. Schedule a mobility assessment before move-in if possible. Simple equipment can greatly increase confidence and reduce fall risk.
If a walker is appropriate, choose a model tailored to the resident’s height and home layout; many families find ready options under Walkers for Seniors. Also plan for reachable storage and seating areas to rest during activities like dressing or putting on shoes.
Communication, Technology and Daily Routines
Set up a reliable communication plan: phone numbers, alert procedures, and a schedule for visitors. A simple, easy-to-use phone can make a big difference—look into large-button phones for seniors that reduce dialing errors and speed emergency calls. Establish daily routines for meals, medication, exercise, and social activities to help the resident adapt emotionally and physically.
Move-In Day Logistics
On move-in day, bring an essentials box that won’t be unpacked for weeks: medications, important documents, one change of clothes, toiletries, phone charger, flashlight, and a few comfort items. Confirm arrival times with the community team and request a staff member to show emergency exits, dining locations, and where to report maintenance issues.
Small Checklist
- Documents: IDs, meds list, medical records, POA contact
- Essentials box packed and labeled
- Bedroom set for easy access to bathroom and light switch
- Medication organizer filled and reminder device set up
- Kitchen basics: meal prep containers, safe utensils, microwave-safe dishes
- Mobility aid evaluated and ready to use
- Phone and emergency contact list in a visible spot
FAQ
- Q: How long before moving should we start sorting belongings?
A: Start 6–8 weeks ahead if possible; allow extra time for sentimental items and estate sales.
- Q: Should we keep all furniture?
A: No. Measure the new unit first and keep only necessary, comfortable pieces to avoid clutter and tripping hazards.
- Q: How do we manage medications on move-in day?
A: Bring the current medication list and a week’s supply in original bottles. Use a medication organizer and set up any medication reminder devices before the first dosing time.
- Q: What if I’m worried about falls?
A: Assess the unit for hazards, add non-slip rugs, install grab bars in the bathroom, and consider a mobility aid such as those listed under Walkers for Seniors.
- Q: How can I make the kitchen safe for independent meal prep?
A: Use compact, simple tools, portion food into meal prep containers, and equip the space with kitchen safety tools for seniors to reduce burns and spills.
Moving into independent living is both a logistical and emotional transition. Prioritize safety, streamline daily routines, and set up communication and medication systems before day one. These practical steps—measured packing, targeted purchases, and clear routines—help the resident settle faster and with greater independence.
