RiderInstinct Editorial Team
Start with the decision framework: What do you actually need?
The first step is not to pick a brand or bag but to define the mission. Are you commuting with a laptop and lunch? Doing single-day sport or trail rides? Taking weekend trips? Planning multi-day touring or regular two-up travel? Each mission has different priorities: capacity, weather protection, theft resistance, aerodynamic stability and how often you need to remove the luggage.
Work through these quick questions before browsing products:
- How much gear and what size items? (e.g., helmet, tools, clothes, laptop, food.)
- How often will you remove the bag? Daily commuting favors backpacks or easily detachable tail/tank bags; permanent touring solutions favor racks and lockable panniers.
- How do you ride? High-speed sport riding penalizes bulky, top-heavy bags; adventure and off-road travel require secure mounts and low-profile soft luggage.)
- Weather and security concerns: Do you need full waterproofing and lockable mounts? Urban riders often value theft deterrence while long-distance riders prioritize waterproofing.
Trade-offs are inevitable. Soft luggage tends to be lighter and less expensive but less secure and sometimes less weatherproof than hard cases. Hard panniers and top-boxes offer security and easy access but add cost, weight and change the bike’s profile. Backpacks offer convenience but can be hot on long rides and transfer all load to the rider’s body. Your goal is to balance these trade-offs against what you actually do most on the bike.
One more practical rule: start with the smallest solution that covers your needs. It’s easy to add more capacity or another bag later; it’s harder to retrofit a rack or change a bike’s handling because you overloaded it from the start.
Overview of luggage types and how riders typically use them
Understanding categories helps pair the right solution to the mission.
- Tank bags — Sit on top of the tank using magnets or straps. Ideal for maps, phones, wallets and items you need to access while stopped. Be careful of fuel-cap clearance and fuel-sticky spillage; check fit for your tank shape before buying.
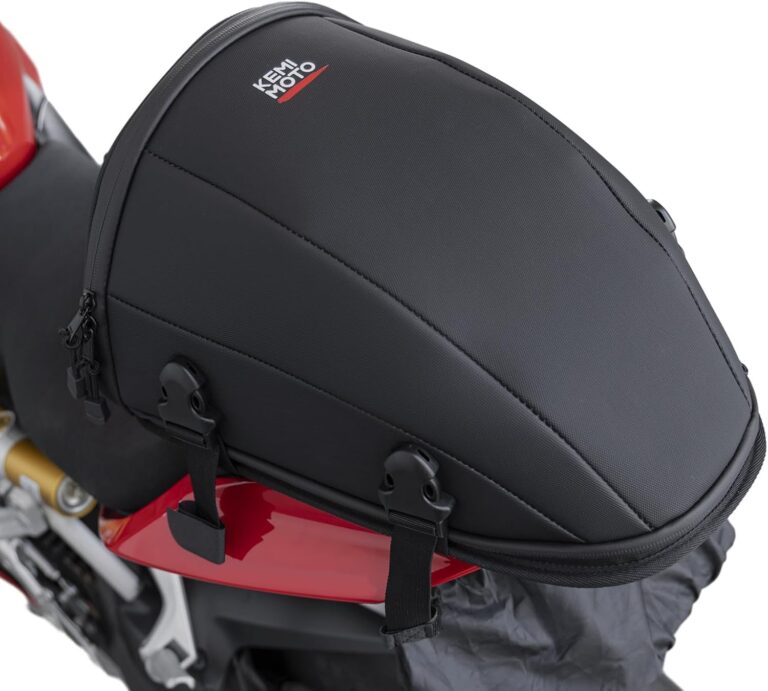
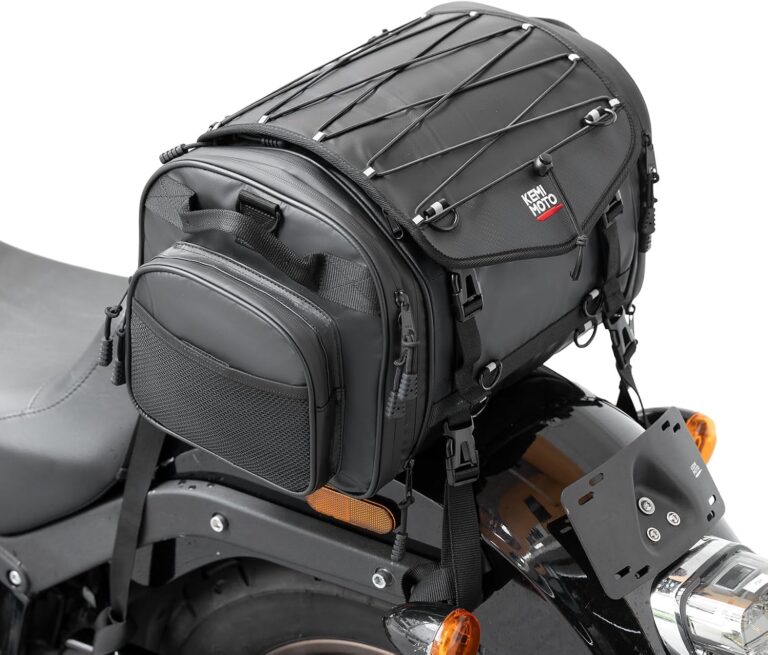
- Tail bags / seat bags — Mount to the passenger seat or rear rack. Good for day trips and weekend luggage. Expandable tail bags are versatile when you occasionally need more space.
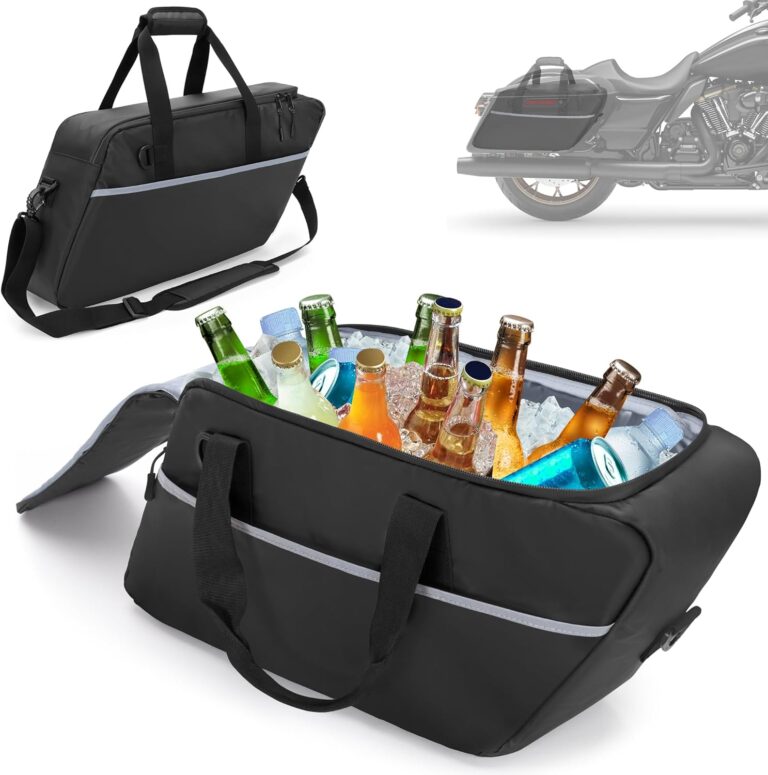
- Saddlebags — Soft saddlebags strap to the bike and are often the most cost-effective way to gain side storage. They’re lighter but can swing or rub if not well secured.
- Panniers (hard and soft) — Hard panniers bolt to racks and offer weatherproofing and locking; soft panniers are lighter and more forgiving off-road but require better straps and compression to avoid rubbing. Panniers are the most stable solution for touring.
- Top boxes / top cases — Mounted on a rear rack, they provide secure, weatherproof storage and often offer quick access. They add height and change the center of gravity, which may affect handling.
- Backpacks — Personal and portable, often used for commuting or as a supplement to motorcycle-mounted luggage. They place weight on the rider and can cause fatigue on long trips or in hot conditions.
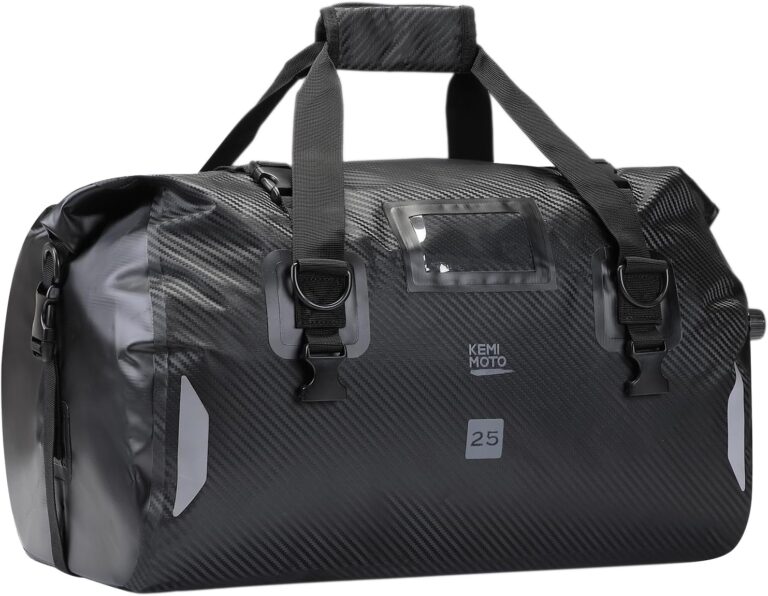
- Dry bags / duffels — Common for adventure and off-road riders: they’re durable, waterproof and compressible but require careful mounting to avoid shifting.
For further beginner-level guidance, our Motorcycle Luggage Buying Guide for Beginners is a helpful next read.
Capacity, weight and the bike’s limits: practical guidance
Capacity (liters) is an easy comparison number, but weight distribution and the bike’s published load limits matter more for safe handling. Manufacturer payload limits include passenger(s), luggage and any aftermarket accessories—verify your model’s limit in the owner’s manual before loading up.
Practical steps to estimate what you need:
- Do a packing test: put the clothes and gear you would actually take into a duffel at home and weigh it. That’s a better indicator than guessing from liters alone.
- Remember two-up: a passenger significantly reduces the safe luggage capacity. If you carry a passenger often, prioritize racks and panniers designed for two-up loads or distribute weight to hard panniers rather than the top box or tail bag.
- Place heavy items close to the bike’s centerline and as low as possible—this reduces the effect on steering and stability.
- On motorcycles, even modest extra weight high and rearward can cause noticeable changes: earlier steering input required, higher lean angles at the same speeds, and reduced traction in corners. If you don’t know the exact tipping point for your bike, add weight incrementally and test in a safe environment.
When in doubt, verify load ratings with the motorcycle manufacturer and luggage manufacturer. If a luggage product’s maximum recommended load isn’t supplied, treat it as a red flag and either contact the seller or choose a product with clear published specs.
Mounting methods, racks and hardware: stability vs convenience
How a bag is mounted determines how it behaves at speed and off-road.
Common mounting options:
- Straps and tie-downs — The simplest way to add luggage. Suitable for lightweight tail bags and soft saddlebags, but prone to shifting if not tightened properly. Use rated straps and multiple tie-down points. Avoid single bungee-only setups for heavy loads.
- Racks — Steel or aluminum racks provide a fixed platform for tail bags, top boxes and can accept pannier racks. They’re essential for reliably securing heavier loads and for attaching hard cases.
- Pannier racks and mounts — Frame- or subframe-mounted racks that locate panniers away from the swingarm and exhaust. For hard cases, bolt-on systems with keyed locks are safest. For soft panniers, use purpose-built racks that prevent rubbing.
- Quick-release systems — Offer convenience for frequent removal. They vary widely in engineering quality—prefer well-designed systems from reputable manufacturers and inspect locking mechanisms regularly.
Practical mounting tips:
- Route straps so they can’t touch the exhaust, moving parts or chain—melting straps overnight is an avoidable headache and a safety risk.
- Use multiple tie-down points and cross-tension straps to prevent lateral sway.
- Inspect the rack’s mounting hardware periodically—vibration can loosen nuts and bolts over time.
- If you plan to use a top box or large panniers, confirm fitment and clearance for your passenger and any aftermarket luggage or accessories.
When evaluating racks and mounts, check weight ratings in the product documentation and compare them to your planned loads. If documentation isn’t available, consult the supplier or select a solution with clear specifications.
Weatherproofing and materials: what 'waterproof' actually means
Water protection ranges from water-resistant zippers and treated fabric to fully welded seam construction and roll-top dry bags. Don’t assume a product is waterproof from photos—look for construction details.
Key material and construction features:
- Fabric: Cordura, ballistic nylon and PU-coated textiles are common for durable soft luggage. PVC and TPU-coated fabrics are more waterproof but can be heavier.
- Zippers: Water-resistant zippers offer protection but are less secure than welded seams for extended immersion.
- Seams and closures: Roll-top closures with internal dry bag liners offer the best protection for soft luggage. Welded or taped seams increase waterproofing but usually add cost.
- Hard cases: Often have gasketed lids and locks for good water protection, but seams around mounting points or lids can leak over time without maintenance.
Practical advice:
- Test any new luggage at home with a hose and check inside for leaks before committing it to a trip.
- Use internal dry sacks or packing cubes for electronics and clothes even if the outer bag is advertised as waterproof—double protection is cheap insurance.
- Remember that zippers and seams are the weakest points; treat those areas with care and perform periodic seal checks.
If staying dry is critical (electronics, camping gear), select luggage with detailed waterproof specs or use purpose-built dry bags inside your luggage.
Security and theft deterrence: realistic measures
On the road and in urban areas, luggage theft is about opportunity. You can’t make luggage theft-proof, but you can make it inconvenient and unattractive to a casual thief.
Reasonable security measures:
- Lockable hard cases and racks: These provide the best built-in deterrent. Check how keys and locks work and keep spare keys in a separate location.
- Quick-release awareness: If you use quick-release systems, remove the bag and take it with you when parked in unsecured locations.
- Security cables and disc locks: Useful as a secondary deterrent for backpacks or tail bags left on the bike, but they’re not a substitute for being vigilant.
- Use inconspicuous luggage: Bright branding or visible camping gear signals a likely target. Using plain bags or covering valuables can reduce interest.
- Insurance and registration: For high-value gear, consider insurance and keep serial numbers in a secure record.
Practical theft-reduction habits:
- Remove valuables when possible and take them into businesses with you.
- Park where there are people, cameras or staff—visibility reduces risk.
- When staying overnight, check whether a secure storage option is available at your accommodation.
Security choices often intersect with convenience: lockable hard cases are great for security but add weight and cost. Decide where on that trade-off spectrum your risk tolerance sits.
Packing and load distribution: practice that improves safety
Packing is an underrated skill that has a direct impact on safety and comfort. A well-packed bike behaves predictably; a poorly-packed bike can surprise you in a corner or crosswind.
Packing principles:
- Heavy items low and centered: Tools, spare parts and dense items should sit low and close to the bike’s centerline (inside panniers or low in the tail bag).
- Bulky, light items outside: Camping pads, sleeping bags and jackets are lightweight but voluminous—place them where they won’t catch crosswinds or obscure lights.
- Balance left-right: Keep side loads even. If one pannier is fuller than the other, re-arrange contents or add weight to equalize.
- Secure small items: Use internal pockets or dry bags so tools and small objects don’t migrate and shift the center of mass while you ride.
- Helmet carry: When carrying a helmet on the outside, ensure it’s secure and won’t rub or interfere with the suspension. Ideally use a helmet lock or an internal compartment in a top box.
Tie-down practices:
- Use rated cam straps for main attachment points and avoid relying solely on bungee cords for heavy items.
- Protect the bike’s finish where straps make contact by using protective pads or routing straps over rack tubing instead of paintwork.
- After initial installation, ride a short loop and re-check straps—vibration and settling can loosen even properly tensioned straps.
When loaded, plan an on-road check after the first few miles: stop and inspect mounts and straps once the luggage has settled.
Care, inspection and keeping luggage reliable
Good luggage can last many seasons if you maintain it. Routine checks reduce the chance of a failure that could strand you or cause a crash.
Maintenance checklist:
- Inspect straps and hardware: Look for fraying, cracked plastic, or corrosion on metal buckles and mounts. Replace worn straps before they fail.
- Lubricate locks and hinges: Use manufacturer-recommended lubricants to keep locks working smoothly, especially after exposure to salt or heavy rain.
- Clean and dry: Rinse salt and grime off after wet or salt-road rides and dry thoroughly to avoid mold and corrosion. Use gentle cleaners for coated fabrics and leather conditioners for leather items.
- Store properly: Store soft luggage loosely packed and out of prolonged sunlight to avoid UV degradation. Hard cases should be stored dry and with lids closed to keep out pests.
- Replace seals: If a hard case’s gasket becomes compressed or cracked, replace it—water ingress often occurs at old gaskets before other failures.
Periodically test waterproof claims at home and keep spares like extra straps and a compact roll-top dry bag in your kit for emergency protection.
Legal, practical safety notes and next steps
Before heading out, verify any safety-critical numbers—payload limits, rack weight limits and mounting torque specs—with your motorcycle’s owner manual and the luggage manufacturer. Because bikes vary, a solution that’s safe on one model may be unsafe on another.
Practical next steps:
- Do a load-and-ride test in a safe area to see how the bike feels with the planned gear and make adjustments.
- Start with the smallest, most secure configuration that meets your needs—add capacity only when you have a demonstrated need.
- Use internal dry bags for valuables, and keep a small toolkit and spare straps accessible.
- Read user reviews and tests from reputable sources and verify fitment for your specific bike. Our Motorcycle Luggage Buying Guide for Beginners and product reviews (for example tail-bag and saddlebag reviews) can help you compare real-world options.
Remember: luggage choices change how your motorcycle rides. Prioritize secure mounting, sensible weight distribution and documentation-based limits over looks alone. If you need specific product recommendations, start with your mission and then compare products that clearly state load ratings, mounting options and waterproofing details.