RiderInstinct Editorial Team
What body armour does — and what it doesn’t
Body armour for motorcycling is a system of pads, plates and shells designed to reduce the forces transmitted to your body during a fall or impact and to protect soft tissue from penetration or abrasion. Common target zones are the spine, chest, shoulders, elbows, hips and knees. Good armour spreads and absorbs energy, reduces peak loads on bones and reduces the chance of sharp objects penetrating vital areas.
It’s important to be realistic: armour reduces risk and the severity of many injuries, but it does not make you invulnerable. Armour is one part of a layered safety approach that also includes a properly fitted helmet, abrasion-resistant outerwear, boots and gloves, plus defensive riding skills. Think of armour as risk reduction, not a guarantee.
Before you buy, decide what you want to protect and why: are you trying to reduce road rash on commuting rides, reduce spinal injury risk on track days, or protect against heavy impacts while off-road? Your answers drive choices about coverage, material and the trade-offs you’ll accept for comfort and mobility.
Protection zones: which parts of your body need armour and why
Not all riders need full-body coverage. Map protection to the most likely injury mechanisms for your riding style.
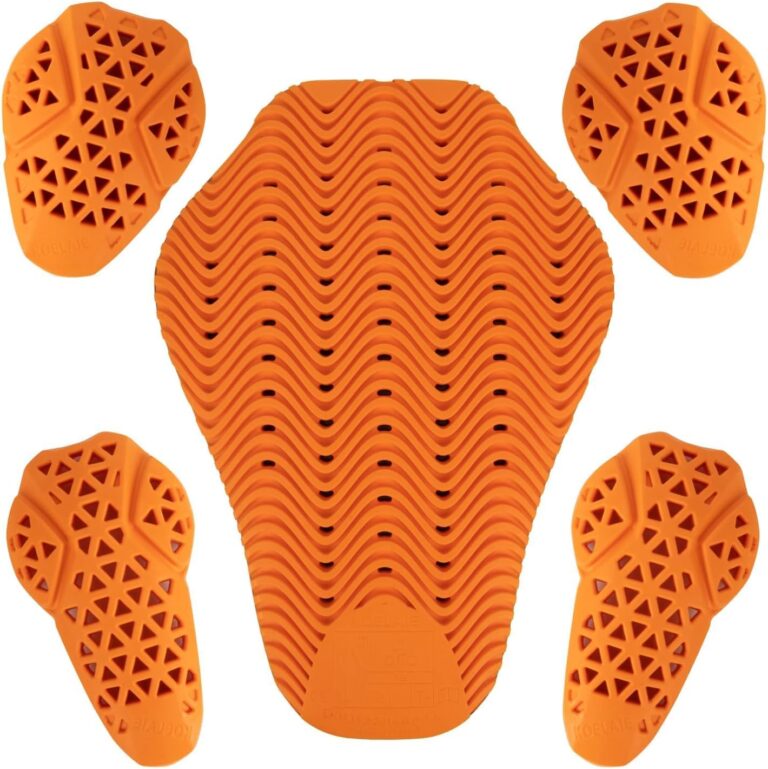
- Spine: Posterior column bones and the spinal cord are high-risk. A properly aligned back protector or integrated jacket back pad that stays in position is essential for riders who could experience high-velocity off or sliding crashes.
- Chest and ribs: Chest protectors help against rib fractures and punctures from handlebars, debris or obstacles—important for sport and off-road riding.
- Shoulders, elbows, knees and hips: These joints commonly impact first in a fall. Joint plates, hard shells and viscoelastic inserts protect bones and reduce dislocations.
- Limbs and soft tissue: Abrasion-resistant clothing is the primary defense; armour beneath that clothing helps spread impact loads.
Decide which zones to prioritise based on the worst plausible crash scenario you want protection for. For example, a commuter who spends most time in slow-speed city traffic may prioritise abrasion protection and a CE-rated back protector, while an enduro rider accepts more coverage with trade-offs in ventilation and mobility.
Standards and certification: how to read protection claims
Manufacturers often cite standards and certification. These can be useful signals, but they’re shorthand—verify the details.
- Recognised standards: Look for references to EN/CE standards that apply to motorcycle protectors (for example, standards for limb, back and chest protectors). Each standard describes test methods and sometimes multiple levels (e.g., level 1 vs level 2). A higher level typically means the protector was tested to withstand higher energy impacts.
- What to verify: Ask the seller or check the product documentation for exactly which standard and level the protector meets. Look for test certificates, lab reports or a clear manufacturer statement. Don’t assume all CE-labelled items are tested to the same criteria.
- Lab tests vs real world: Standards use repeatable laboratory tests. These are valuable for comparison, but real crashes involve complex forces and angles that tests can’t fully replicate. Use certification as one input, not the only decision factor.
If a seller can’t provide test documentation on request, treat the certification claim with caution. For safety-critical specifics (for example, allowable deflection, impact force thresholds or service life), consult the manufacturer documentation rather than relying on summaries or labels.
Materials and construction: trade-offs between soft, hard and hybrid armour
Armour uses different approaches to absorb and spread energy. Common categories include soft foam, viscoelastic materials, hard shells/plates, and hybrids that combine those methods. Each has pros and cons.
- Soft foam: Low profile and flexible, foam is comfortable and breathable but usually offers less impact absorption than dedicated impact materials. Good for light contact and as a base layer.
- Viscoelastic materials (energy-absorbing gels): Designed to be soft in normal movement and stiffen under impact. These offer a good balance of comfort and impact attenuation without excessive bulk. Popular in modern protectors but always check manufacturer test data.
- Hard shells/plates: Rigid plastic or composite plates spread impact across a larger area and help prevent penetration. They are heavier and can be less comfortable, but they’re valuable for chest, spine and certain off-road uses.
- Hybrid systems: Combine soft liners with external plates or segmented shells to improve coverage and range of motion.
Other factors: ventilation channels, moisture-wicking liners, attachment systems (Velcro, straps, zips), and pocketed jackets that accept removable armour. Choose materials that match your climate and expected exposure: vents and breathable liners for hot weather; heavier shells for very high-risk riding.
Fit, sizing and how to test armour on your body
Fit is the single biggest determinant of real-world performance. A top-rated protector is useless if it slides away from the bone it’s meant to cover in a crash.
- General fit rules: Armour should sit over the bones and joints it protects (e.g., elbow cups over the point of the elbow, back protector covering the length of the thoracic spine) and remain there when you move. It should not be so tight as to impede circulation or so loose it shifts during movement.
- Try before you buy: Put the gear on in the riding position (lean forward over an imaginary tank). Move your arms, reach, twist and squat. The edge of an elbow protector should not expose the tip of your elbow when you bend; a back protector should stay aligned with your spine while you flex and twist.
- Layering and adjustment: If you plan to wear armour under a textile jacket, test the combination. Some jackets have armour pockets—make sure the protector can be secured in that pocket and that it does not fold or bunch. Adjustable straps, elastic anchors and chest belts help keep armour in position.
- Range of motion vs coverage: More coverage usually means less mobility. Balance your need to move (for sport or off-road control) with the amount of coverage you want.
If you buy online, review return policies and size guides carefully, and prefer retailers who allow easy exchanges for fit issues.
Choosing armour by riding style: practical trade-offs
Your riding mix should determine the armour you select. Here are practical guidelines and typical trade-offs.
- Commuting / urban: Prioritise comfort, ventilation and discreet protection. CE-rated back protectors and lightweight elbow/shoulder inserts work well with textile jackets. Easy on/off and washability matter.
- Sport / track: Prioritise high-level impact protection and stability. Full leather suits or jackets with CE-rated back, chest and limb armour and the option to add a hard-shell chest or back plate are common. Riders accept reduced ventilation for better impact performance.
- Touring: Balance long-distance comfort with protection—ventilated jackets with removable armour and the ability to add a robust back protector are sensible. Consider weight distribution for long hours in the saddle.
- Adventure / dual-sport: Choose durable, flexible armour that withstands off-road impacts and roost (flying debris). Consider removable chest and spine plates and coverage for hips and knees; expect heavier weight and more maintenance.
- Off-road / motocross: Prioritise high-coverage, multi-impact systems that stay in place during aggressive movement. Look for external chest and back plates, shoulder and elbow guards with secure straps, and designs that work with hydration packs and body movement.
For more on how to match armour to your riding style, see RiderInstinct’s buying guide: https://temp.azammubeen2.com/buying-guides/how-to-choose-the-right-body-armour-for-your-riding-style/
Integration: jackets, vests and full-body systems
Armour can be standalone (vests, jackets) or integrated into garments. Both approaches have pros and cons.
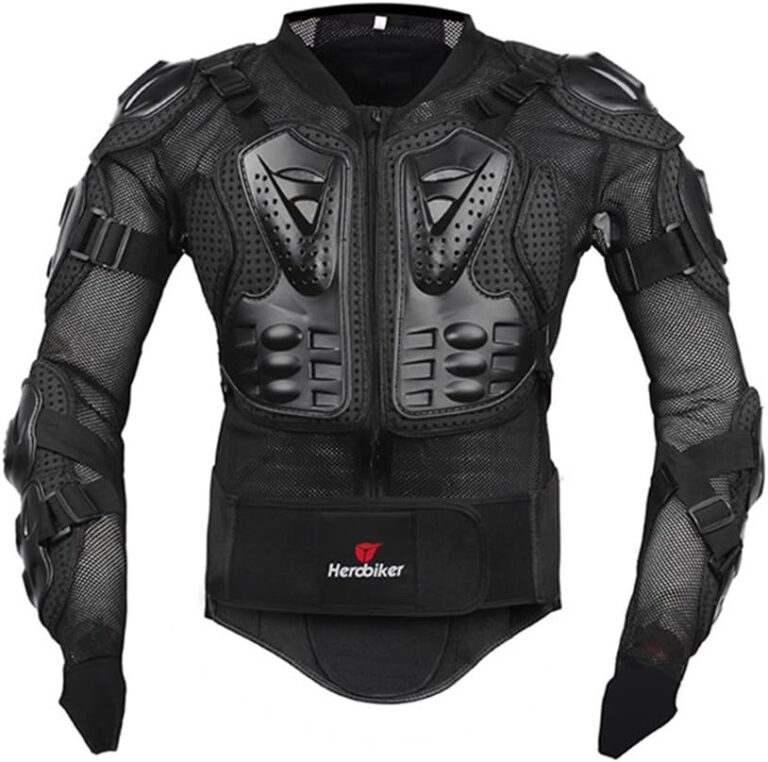
- Integrated armour (jackets/shirts): Convenience and cleaner aesthetics. Jackets built to accept removable armour usually have dedicated pockets and keep protectors aligned when zipped. However, off-the-shelf jacket armour is sometimes thinner than aftermarket options—verify the protector size and standard.
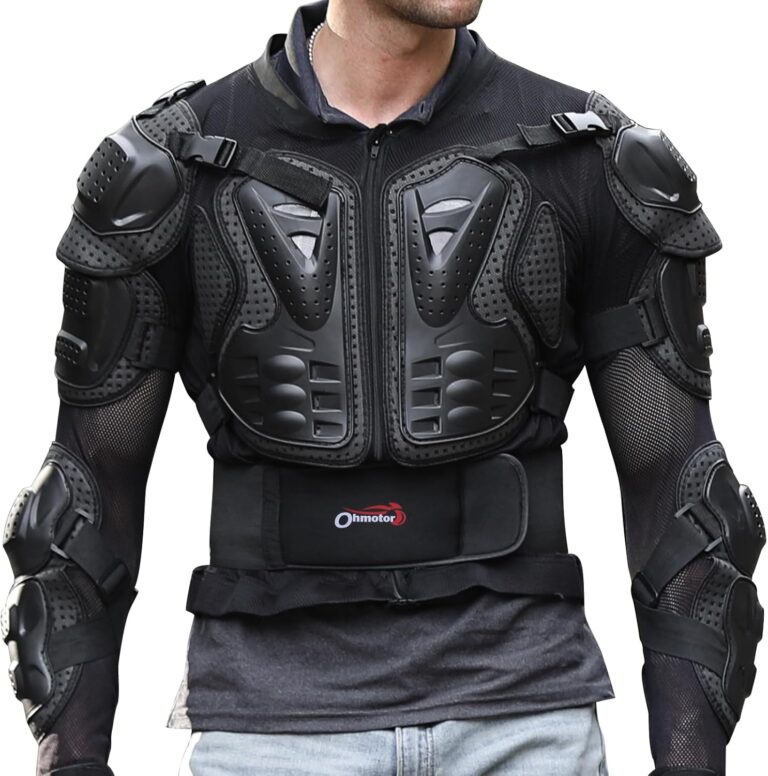
- Standalone vests and harnesses: Offer flexibility: you can wear the same vest under different jackets and often get larger or higher-performing back/chest plates than jacket inserts allow. Standalone gear can also be removed for non-riding activities.
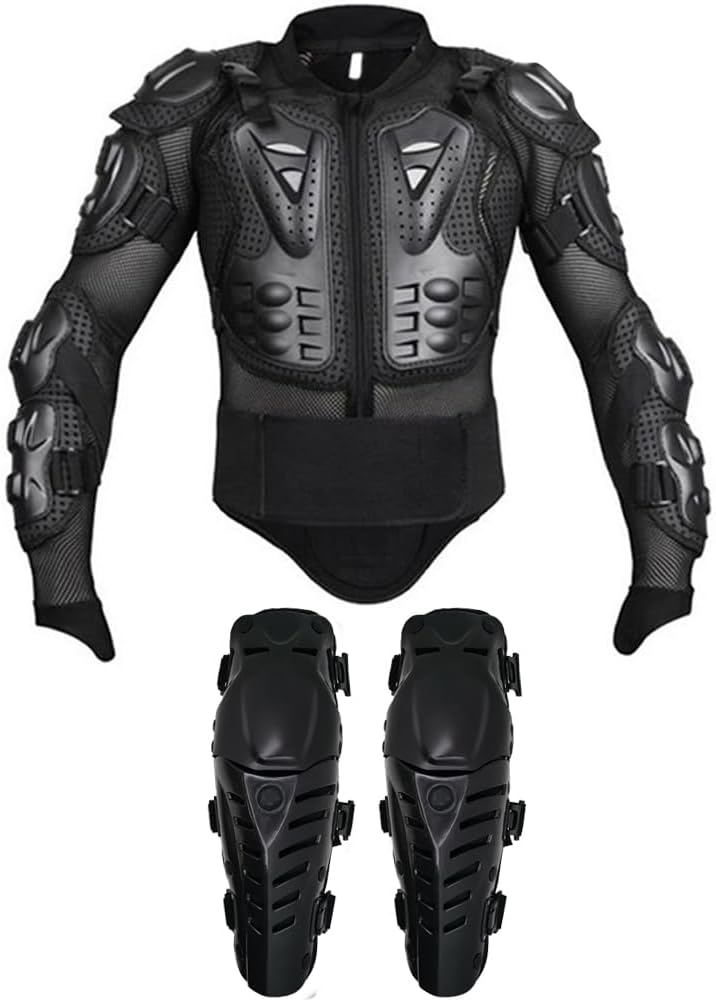
- Full-body systems: Race suits or full-body armours provide extensive protection but are heavier and less comfortable for casual use. They’re most appropriate for track or intense off-road riding.
- Examples and where to look: RiderInstinct has product pages and reviews of both standalone vests and full-body items you can use for reference: see items like the RIDBIKER full body protector, the Heyjieyu body armor vest, and full-body budget options. Links: https://temp.azammubeen2.com/product/ridbiker-motorcycle-full-body-armor-protector-removable-racing-jacket-motocross-spine-chest-motocross-protective-shirt-red-xxxxl/ , https://temp.azammubeen2.com/product/heyjieyu-motorcycle-body-armor-vest-review-lightweight-chest-and-back-guard/ , https://temp.azammubeen2.com/product/ohmotor-full-body-armor-review-budget-motocross-protection/
Where possible, pair high-quality jacket shell materials (abrasion-resistant textile or leather) with armour that can be removed, inspected and replaced independently.
Care, inspection and replacement: when armour is no longer effective
Armour ages, and its protective properties change. Regular inspection and appropriate care are essential.
- Inspect after any impact: If you take a fall, inspect every piece of armour you wore. Replace any foam or viscoelastic insert that shows compression, deformation, cracks or hardening. Replace rigid plates that are cracked or have permanent dents.
- Regular checks: Look for worn straps, stretched elastic, broken stitching, missing fasteners and degraded liners. Sweat, UV and heat can degrade materials over time.
- Cleaning: Follow the manufacturer’s instructions. Many removable protectors can be wiped down and allowed to air dry; cartridges or sealed materials may have different care requirements. Never use solvents or high heat unless the documentation allows it.
- Service life: Manufacturers sometimes publish recommended replacement intervals. If not, treat foam and viscoelastic materials with suspicion after several years of heavy use—verify specifics with the maker.
When in doubt after a hard impact, replace the protector. The cost of a new insert is small compared to the risk of using compromised protection.
Limitations and realistic expectations: what armour can’t protect against
Understanding limits keeps expectations realistic and prevents dangerous overreliance on gear.
- High-energy collisions: Armour reduces forces and spreads loads, but very high-energy impacts (high-speed collisions with cars or immovable objects) can still produce catastrophic injuries that armour cannot prevent.
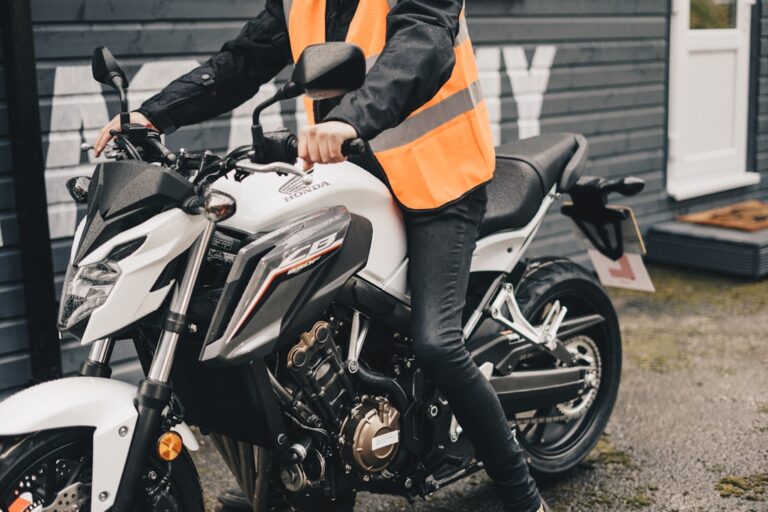
- Abrasion vs impact: Armour helps with impacts and can reduce bruising and fractures. Abrasion resistance primarily comes from your outerwear—armour under a thin t-shirt won’t stop road rash. Always pair armour with proper abrasion-resistant outer layers for sliding incidents.
- Internal injuries: Armour cannot eliminate internal trauma from blunt force or rapid deceleration—seatbelts and car safety systems and helmet standards are designed for different crash dynamics. Keep this in mind, especially in multi-vehicle crashes.
- Multi-impact considerations: Some foam pads are single-impact devices; others recover between hits. Clarify whether a protector is designed and tested for multiple impacts.
View armour as one element in a comprehensive safety system: training, situational awareness and conservative risk management remain the most effective tools to avoid injuries in the first place.
Practical buying and fitting checklist
This quick in-store or online checklist helps you make a practical purchase and ensures the armour you buy will work when you need it.
- Identify the protection zones you need based on your riding style (spine, chest, joints).
- Confirm standards and ask for documentation: which EN/CE standard and level does the product meet? Request lab certificates if available.
- Try it on in a riding position: lean forward, twist, reach for controls. Confirm the protector stays in place on movement.
- Test integration: if buying a jacket, insert the protector and verify the pocket secures it without folding; if buying a vest, try it under the jacket you’ll wear most.
- Check attachment systems: straps, anchors, zips and Velcro should be secure and adjustable.
- Inspect materials: look for robust stitching, good ventilation, and removable liners for washing.
- Confirm return/exchange policy if buying online and verify expected delivery times for replacements of armour inserts.
- If you’ve been in a crash, replace impacted armour—don’t try to reuse suspect pieces.