RiderInstinct Editorial Team
Why a motorcycle dash cam — realistic benefits and limitations
Dash cams are appealing because they promise objective video evidence after a crash, theft events, near-misses or traffic disputes. For riders the most practical benefits are: recorded proof to support insurance or police inquiries, deterrence or documentation of theft or vandalism, and the ability to capture interesting rides.
Be realistic about what a dash cam can and can’t do. A camera won’t prevent a crash, and footage isn’t guaranteed to convincingly show fault in every scenario (obscured viewpoints, poor lighting, or compression artifacts can reduce usefulness). Environmental exposure, vibration and theft risk are greater on motorcycles than cars, so system choice and installation matter more for long-term reliability.
Before buying, define the primary goal: incident evidence, parking surveillance (when you’re away), or recording scenic rides. Each goal changes the requirements for camera placement, power and features. This guide explains the trade-offs that follow from that decision so you can pick a practical, durable setup.
Types of camera systems and where each makes sense
There are three common approaches riders choose:
- Helmet-mounted cameras: Provide the rider’s point-of-view and are great for capturing rides and what you personally saw. They move with your head, which helps contextualize events but can be vulnerable to impact or damage in a crash and must be secured safely to avoid creating a hazard.
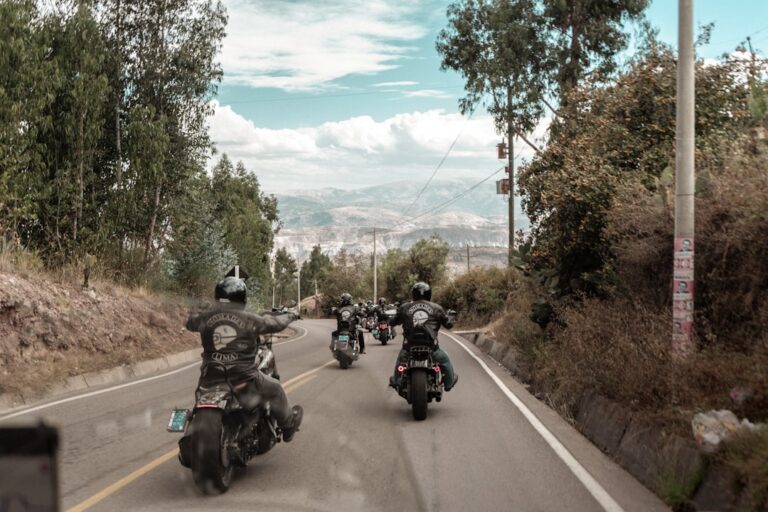
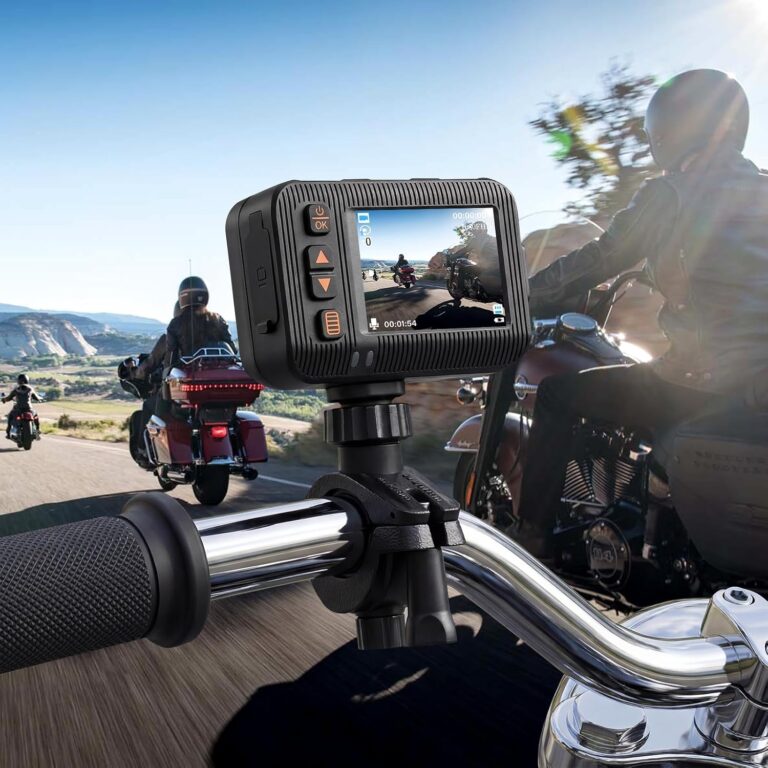
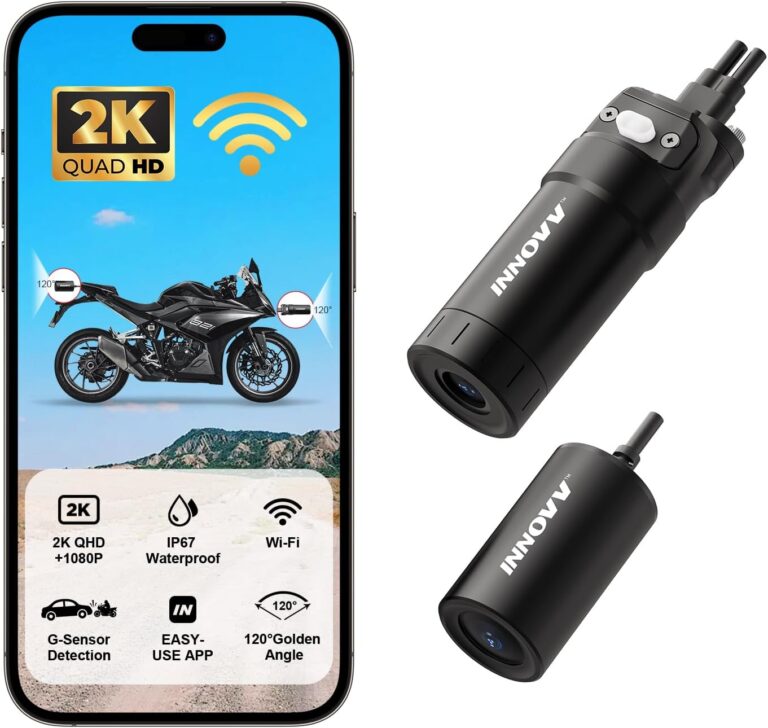
- Bike-mounted forward (and rear) cameras: Fixed to the motorcycle frame, offering a stable view of traffic and a consistent angle for evidence. Front and rear pairs give complementary perspectives useful in many incidents.
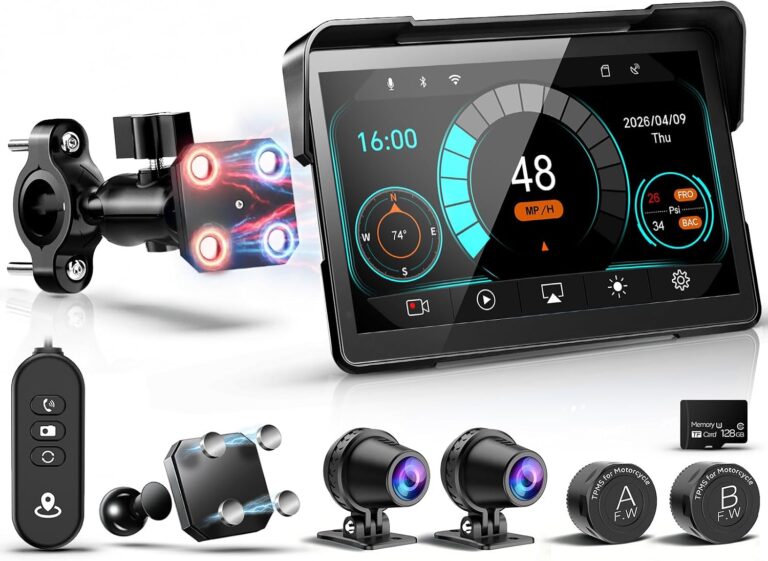
- Hybrid systems: Combine helmet and bike cameras, or use compact dual-camera units that mount near the dash and a rear-facing module. These offer broader coverage but increase installation complexity and power needs.
Choose helmet vs bike mount based on your priorities. For legal evidence, bike-mounted cameras are usually preferable because they maintain a constant, verifiable perspective. For ride footage and POV, helmet cameras excel. Combining both is the best for comprehensive coverage but costs more and requires power and data management planning.
Understanding video quality trade-offs: resolution, frame rate and field of view
Video specs marketing can be confusing. Higher resolution (2K/4K) can capture more detail useful for reading plates or faces at a distance, but it also produces larger files, increases storage and may make low-light performance worse if the sensor size or processing isn’t strong.
Frame rate is important for capturing fast-moving incidents. 30 fps is usually fine for most traffic events; 60 fps gives smoother motion and better frame-by-frame clarity in high-speed situations but doubles storage demand. For evidence, steady exposure and clear timestamps are often more valuable than raw resolution.
Field of view (FOV) is a trade-off between coverage and distortion. A very wide FOV captures more lanes and context but stretches objects at the edges and can make details smaller. A narrower FOV gives a more zoomed-in detail on the center line. Many riders prefer a moderately wide angle that captures the adjacent lane and the front bumper area without making plate-level detail tiny.
Night and low-light performance depends on sensor quality, lens aperture and image processing. Don’t assume a high megapixel count alone guarantees good night images — sensor technology matters.
Electronic image stabilization (EIS) helps reduce the effect of motorcycle vibration, but mechanical mounting quality and anti-vibration isolation are equally critical. Prioritize sensor and stabilization performance only after confirming the camera is designed for motorcycle vibration and weather exposure.
Power options: battery packs, USB, hardwiring — pros, cons and safety notes
Power is one of the most important decisions because continuous recording, parking mode and reliability depend on it. The three main power approaches are:
- Integrated battery or external battery pack: Easy to install, no tapping into the motorcycle electrical system, and reduces risk of draining your motorcycle battery. Downsides include periodic recharging and limited runtime. Battery packs can also add bulk or need secure mounting.
- USB power from an accessory outlet: Convenient if your bike has a switched or constant accessory outlet. Make sure the outlet is appropriately fused and weather-protected for dash-cam use. Verify that the outlet supplies adequate current for the camera, especially at higher resolutions.
- Hardwiring to the motorcycle battery or fuse box: Offers continuous power and enables true 24/7 parking mode with features like voltage detection or timed shutoff. However, hardwiring must be done correctly to avoid battery drain and electrical faults. Use a proper fuse tap or a dedicated fused line, and consider a low-voltage cutoff device if the camera system’s electronics don’t include one.
Where exact battery-drain or cutoff voltages matter, verify values with the camera manufacturer and your motorcycle’s service manual rather than relying on generic numbers. Incorrect wiring is a common cause of battery failure and electrical damage — if you’re not confident, have a motorcycle-electrician or experienced tech do the hardwiring.
Mounting, vibration and waterproofing — durability in real-world riding
Motorcycle environments are harsher than cars: constant vibration, spray, and greater risk of camera damage or theft. Focus on these elements when choosing and installing a dash cam:
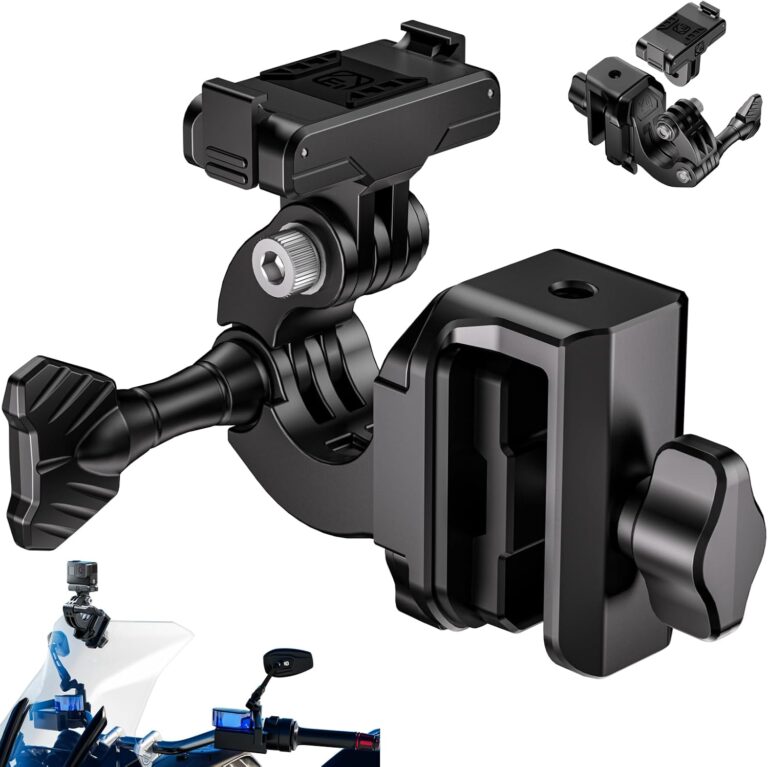
- Mount type: Bar clamps, fork mounts, handlebar mounts, and dedicated fairing mounts are common. Adhesive mounts can work but must be high-temperature rated and designed for motorcycle vibration. Prefer mounts with rubber isolators for vibration damping.
- Water and ingress protection: Choose cameras and cables rated for outdoor use and sealed connectors to prevent corrosion. Even IP-rated products can develop leaks over time; protect connections with dielectric grease and heat-shrink where appropriate.
- Vibration damping: Use anti-vibration mounts or a short, stiff mounting arm. Long arms amplify vibration and make stabilization harder. Test-mounted position on-road and inspect footage to confirm usable image quality.
- Theft and damage protection: Secure cabling, tuck connectors, and use theft-resistant mounting hardware if possible. Consider a rear-facing module hidden under the tail or inside a pannier to reduce visibility if you worry about theft.
After installing, take test rides at typical speeds and road surfaces to verify that footage is stable and that no components loosen. Periodic re-checks of fasteners and cable routing are part of normal maintenance.
Key features to prioritize (and which to ignore)
Feature lists can look impressive but some are more practically valuable than others for riders. Prioritize these:
- Loop recording: Ensures the camera keeps recording by overwriting the oldest files; essential for continuous use.
- G-sensor/impact detection: Automatically locks files around an impact so they aren’t overwritten. Useful but not infallible; some low-speed or unusual-angle incidents may not trigger the sensor. Check how the camera marks and protects files.
- Parking mode: Allows the camera to monitor when the bike is parked. True 24/7 parking requires stable continuous power or a battery pack; verify how the camera behaves on power loss and what the power draw is when idle.
- GPS and timestamping: Helpful for proving location and time in claims. GPS also allows speed overlay, which can be useful for context.
- Reliable storage handling: Support for high-endurance microSD cards and clear instructions for formatting and file retrieval are important.
- App connectivity and Wi‑Fi: Convenient for quick previews and downloads, but don’t rely solely on wireless transfer for evidence — have a process for offloading raw files directly from the card.
Less important: flashy user-interface screens or unnecessary gimmicks. Also be cautious about in-camera overlays that alter footage (throttle telemetry, AI annotations) — they can be useful but may complicate evidence chain-of-custody if not well-documented.
Storage, file management and preserving footage for evidence
How you handle recorded files matters if you need to use footage for insurance or police enquiries. Practical points:
- Use high-endurance microSD cards: Dash cams write constantly and consumer cards can fail quickly. Buy cards made for continuous video and follow the camera manufacturer’s max capacity recommendation.
- Regularly offload important files: Copy any incident clips to at least two separate storage locations (computer and cloud or external drive). Relying on the camera’s card alone risks accidental overwrite or card failure.
- Preserve original files: When possible, transfer and store originals before any editing or re-encoding. Re-encoding can alter timestamps or metadata that might be relevant later.
- Maintain a simple naming and timestamping process: Keep a clear record of when files were copied and where the camera was mounted. This helps corroborate the footage sequence if needed.
If you plan to use footage in a legal or insurance context, check local rules about authenticated evidence and the preferred formats for submission to authorities or insurers.
Installation best practices and practical wiring tips
Correct installation maximizes reliability and safety. Follow these practices:
- Plan cable routes: Route cables where they won’t interfere with steering, controls, suspension movement, or bodywork. Use factory grommets and cable channels where available.
- Secure all connections: Use heat-shrink, dielectric grease and waterproof connectors where cables are exposed. Avoid leaving exposed splices near exhaust or moving parts.
- Fuse everything: When hardwiring, fuse the positive lead near the battery or source to protect wiring from shorts.
- Check startup and shutdown behavior: Test how the camera powers up and whether it safely closes files on power loss. Unclean shutdowns can corrupt footage.
- Test in real conditions: Verify image stability, audio and Wi‑Fi range under riding conditions. Re-check mount tightness after the first rides and again after a week.
Document your installation (photos, notes on fuse locations and cable runs). This helps future troubleshooting or removal and is useful if you change bikes.
Legal, privacy and rider-safety considerations
Before recording other people or public spaces, consider legal and privacy issues:
- Audio recording laws: Some jurisdictions require consent from one or all parties for audio recording. Disable audio if unsure or check local laws. This guide does not provide legal advice — consult local statutes for specifics.
- Privacy of bystanders: Public-road recording is generally permitted in many places, but be cautious about sharing identifiable footage online without consent.
- Mounting safety: Never mount cameras where they could become detached and create a hazard to you or others. Avoid obstructing lights, indicators, mirrors or rider controls.
- Distraction risk: Minimize in-ride interaction with cameras or apps. Set up and test before you ride or while stationary.
When in doubt about local legality for audio or mounting rules, consult local transportation authorities or police guidance. Treat recorded footage responsibly and respect fellow road users’ privacy.
Maintenance, testing and what to do after an incident
Regular checks and a clear post-incident routine improve the chance that your footage is useful when you need it.
- Routine checks: Inspect mounts, connectors and cable routing every few hundred miles. Check SD card health and storage space regularly.
- Firmware: Keep camera firmware updated for bug fixes and stability improvements, but read release notes and back up settings before major updates.
- After an incident: Protect the camera and card as evidence. If safe, remove the microSD card immediately and copy files to multiple locations. Note the time, location and any witness details separately. If authorities are involved, hand over original files upon request and follow their evidence-handling procedures.
- Testing: Periodically test the camera in the lighting and weather you usually ride in. Night testing, rainy tests and highway-speed checks reveal weaknesses you can address ahead of time.
Documenting your maintenance and the chain of custody for incident footage strengthens its credibility in insurance or legal settings.