RiderInstinct Editorial Team
Why motorcycle phone mounts matter — use cases and trade-offs
Phone mounts have become a common motorcycle accessory because modern smartphones consolidate navigation, music, incident recording and rider apps. But a mount is not a one-size-fits-all tool: different riders and rides create different priorities.
Start by asking what you actually need the phone for while riding:
- Turn-by-turn navigation requires a consistently visible, low-vibration mount with reliable power.
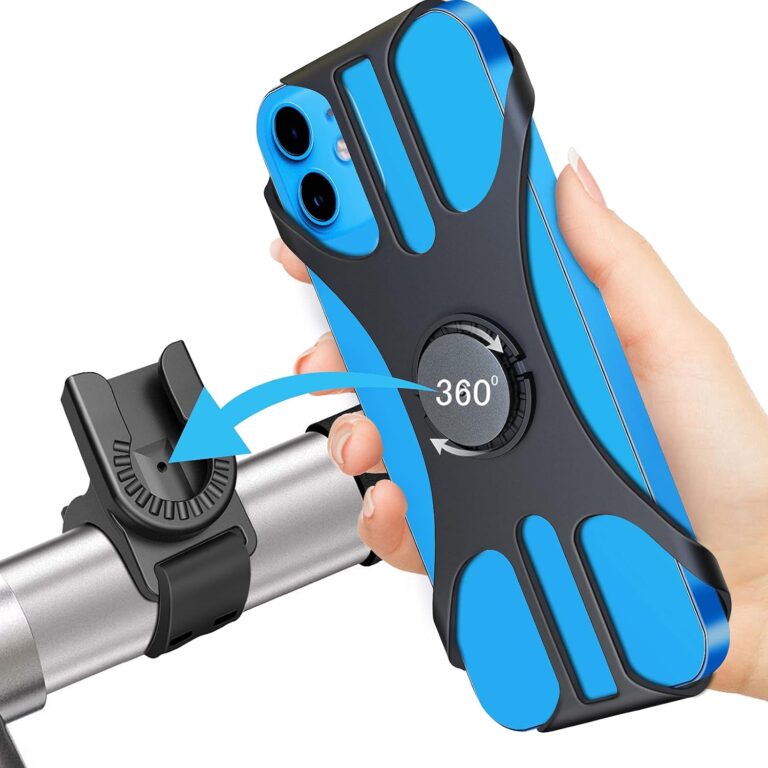
- Occasional checks (e.g., reading a message at a stop or confirming a route) can use more removable or minimalist mounts.
- Action-cam or data logging mounts focus on secure fixation and a stable angle rather than touchscreen access.
- All-weather commuting benefits from waterproof housings and hardwired charging.
Each use case carries trade-offs. A hardwired cradle with dampening gives excellent stability and power but usually costs more and is more visible to thieves. A magnetic mount is quick to use but depends on the phone case, magnet strength and may be unsuitable for rough roads. A waterproof pouch keeps the phone dry but can reduce touchscreen responsiveness and restrict access to ports.
Before shopping, prioritise the tasks you expect to perform while moving versus when stopped. Anything beyond glanceable information should wait until you’ve stopped in a safe place.
Types of mounts — how they work and typical pros/cons
Phone mounts generally fall into a few familiar categories. Understanding how each works helps you match one to your needs.
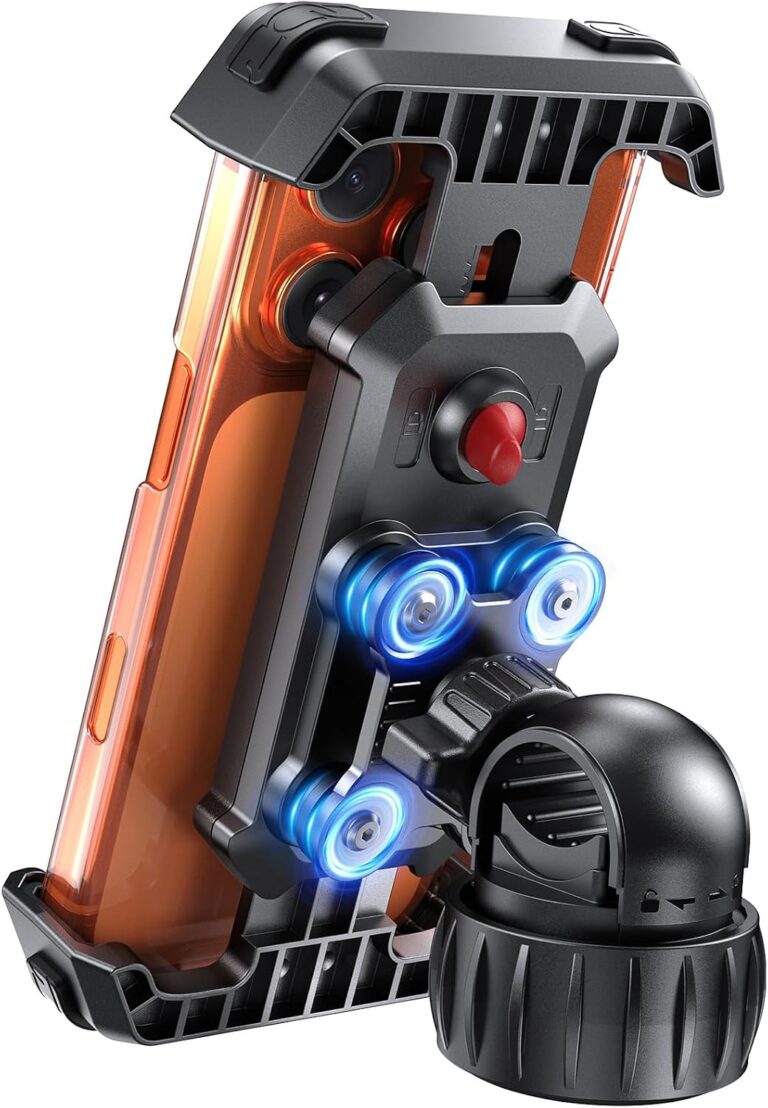
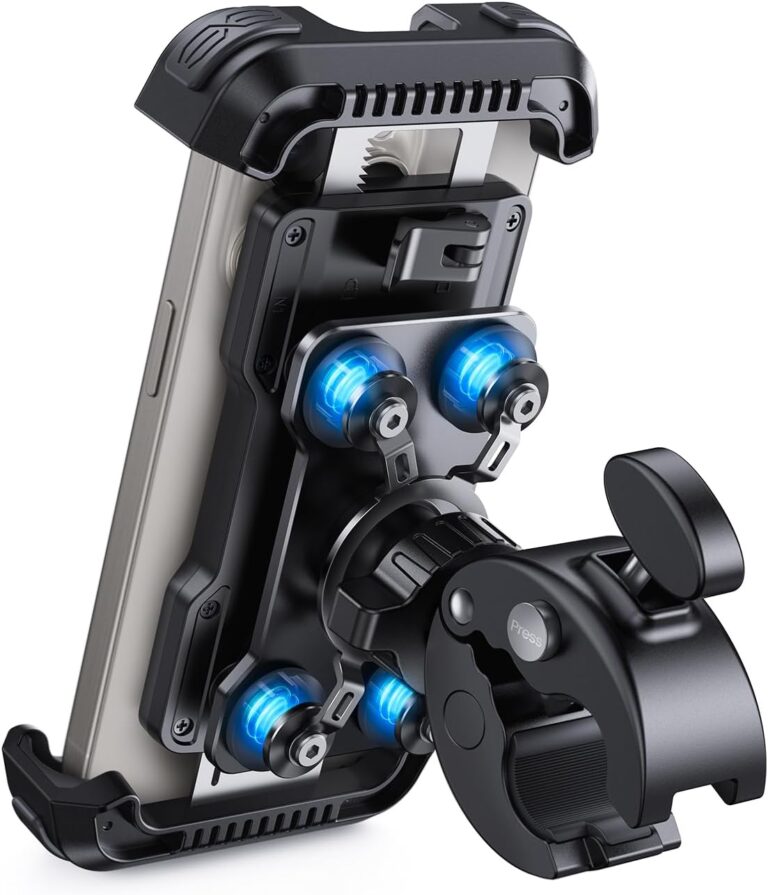
- Claw/cradle mounts use mechanical squeeze arms (often spring-loaded) and sometimes a bottom support. Pros: secure once adjusted, good for vibration when combined with dampeners. Cons: bulkier and need correct sizing or adaptors.
- Magnetic mounts rely on strong magnets attached to a plate on the phone or case. Pros: very quick to attach/detach and generally slim. Cons: require a metal plate or special case, may not be ideal on rough roads without a high-quality magnetic system, and can complicate wireless charging unless designed for it.
- Pouches and wallets enclose the phone in a waterproof bag or rigid case. Pros: good weather protection and theft deterrence when closed; some have touchscreen windows. Cons: can reduce touchscreen accuracy, block ports, and increase heat retention.
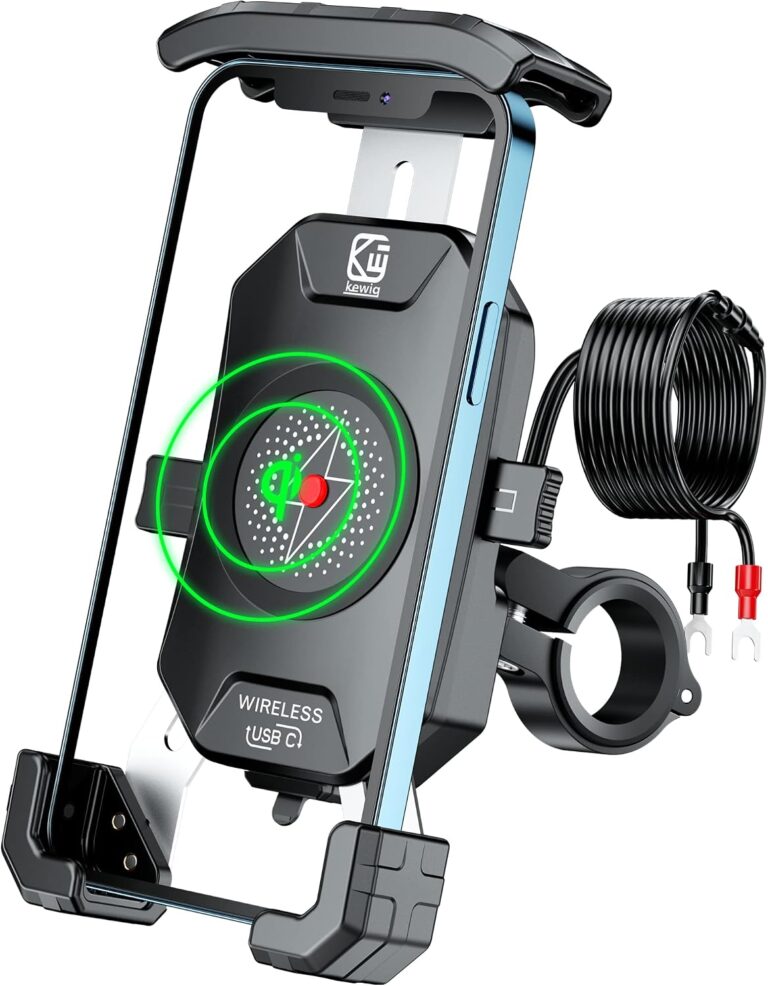
- Integrated or hardwired mounts are designed for a particular form factor or offer built-in charging (wired or wireless). Pros: neat wiring and reliable power. Cons: higher installation complexity and cost.
- Mirror/stem/fairing-specific mounts attach to points other than the handlebar and are chosen when handlebars are impractical. Pros: can be more secure and less exposed; cons: may require speciality fittings and can affect steering if poorly installed.
No single type is objectively best for all riders. The most practical mounts for navigation tend to be a quality cradle or a waterproof pouch on a robust clamp or stem mount with built-in dampening and a reliable power source.
Where to mount — sightlines, interference and environmental exposure
Mount placement is a balance between visibility, safety and exposure to elements or theft. Common mounting locations include:
- Handlebar centre — easy sightline for most riders and convenient for wiring. Check cable routing and ensure the clamp fits your bar diameter and leaves full control movement.
- Top triple tree / headlight bracket — often offers a more central and less vibration-prone location, though fitment varies by bike and may need specific brackets.
- Mirror mount — positions the screen at eye height but can interfere with mirror adjustment and requires a mount compatible with your mirror stem.
- Fork or fairing mounts — sometimes used to keep the bar clear; they can be secure but may be more exposed to wind and debris.
When choosing placement, test a few points with the bike stationary: ensure the phone doesn’t block critical indicators, won’t foul cables or controls at full steering lock, and is not placed where exhaust heat, rain or direct sun will cause overheating or glare. If you’re unsure how a mount will behave on your bike, measure and mock-fit before drilling or making permanent changes.
Powering your phone on the bike — options and practical limits
Keeping a phone charged on longer rides changes the mount decision because charging systems add complexity and failure modes.
Main power options:
- USB-A or USB-C power banks and ports — simple and reliable when hardwired to the bike’s battery or accessory socket. Use a quality fuse and follow the manufacturer’s wiring recommendations.
- Hardwired chargers — installed into the bike’s electrical system and wired to the battery or switched ignition. They offer consistent power but require correct installation and fusing; consult the bike and charger manuals for wiring specifications.
- Wireless (Qi) charging mounts — convenient but sensitive to alignment, phone case thickness and heat. Wireless charging can generate extra heat, which may throttle the phone during navigation and can be less efficient than wired charging.
Important limitations and practical notes:
- A device that is charging will produce heat; on hot days or in direct sun the phone may overheat more easily. If extended navigation causes thermal throttling or shutdown, stop and let the phone cool.
- Verify your phone’s charging needs, connector type, and whether a magnetic plate will obstruct wireless charging. Check both the mount and phone manufacturer documentation before relying on a charging solution.
- Always fuse any hardwired power at the recommended rating and route wires away from moving parts and heat sources.
Vibration, impact and phone protection — real risks and practical mitigations
Vibration and shock from the road can damage connectors, loosen screws, harm internal components over time, and make the screen hard to read. Heat and moisture are additional threats. Here are practical steps riders can take:
- Use vibration-dampening mounts or add dampers: Some mounts include rubber inserts or dual-damper designs to isolate the phone. These help on rough roads but don’t eliminate the need for a secure grip.
- Choose a cradle over a minimalist clip for rough roads: Cradles with four-point or three-point contact spread the load and reduce the chance of the phone popping out.
- Use a rugged or protective phone case: A case helps absorb shocks and can work with certain mounts. Verify any additional thickness against cradle or magnetic mount clearances.
- Monitor for looseness regularly: Check mount bolts and phone fit before every ride and after the first few rides following installation.
- Consider removing the phone on long, off-road, or very rough rides: If you’re taking a route with significant vibration or impacts, a phone in a tank bag or left at home may be safer for the phone.
If you have concerns about long-term impact on your phone, consider using a dedicated rugged device or separate GPS unit for heavy off-road use.
Security and theft risk — what to expect and how to reduce it
Exposure to theft is a practical reality when leaving a phone on a bike. Consider these tactics to reduce risk:
- Choose mounts that lock or use tamper-resistant fasteners: Some mounts include a locking mechanism or use machine screws that require tools to remove.
- Use removable mounts or quick-release systems: Take the phone with you when you leave the bike. A quick-disconnect strategy reduces time exposed and can be the single most effective theft deterrent.
- Avoid leaving visible charging cables connected: Cables and visible mounts signal that a phone may be present.
- Park strategically: Park in monitored, well-lit areas and use alarmed or locked facilities where possible.
There is no foolproof theft prevention. If security is a major concern in your riding environment, factor removal and concealment into your routine.
Legal and safe-riding considerations — keep your focus on the road
Legal rules about phone use while riding differ by jurisdiction. Many places allow hands-free use but prohibit holding the phone. Beyond legalities, there are important ergonomics and safety practices:
- Set navigation and music before you move: Program routes, waypoints and preferred audio sources while stopped.
- Use voice controls and helmet Bluetooth systems: Minimise manual interaction while riding using voice commands and audio prompts.
- Make adjustments only when stopped: If you need to change the route or settings, pull over in a safe place. Avoid fiddling with the screen at intersections or in motion.
- Position the mount for minimal glance time: Place the screen so that checking directions requires a quick, small glance rather than substantial head movement.
Always confirm local laws and apply safe-riding judgement. The mount should support safe behavior, not encourage interaction while the motorcycle is moving.
Installation and maintenance — practical steps and what to verify
Proper installation and routine checks keep a mount safe and reliable. If you’re not confident with mechanical or electrical work, have a professional fit the mount and do any wiring.
Installation checklist highlights:
- Fitment and clamp size: Confirm the clamp fits your handlebar or mounting point. Some mounts include multiple adapters for different diameters.
- Torque and fasteners: Use the recommended torque values from the mount and motorcycle manufacturers. If a torque spec isn’t supplied, consult a mechanic or the bike’s manual rather than guessing.
- Wiring and fusing: If hardwiring a charger, use the recommended fuse size and route wiring away from heat and moving parts. Secure connectors with dielectric grease or heat-shrink where appropriate for weather resistance.
- Cable strain relief: Leave enough slack for full steering movement and secure cables so they don’t chafe on frame edges.
- Periodic checks: Re-check all fasteners after the first few rides and then at regular intervals. Inspect for corrosion, play in clamps, and wear in rubber dampers.
Document what you changed on the bike so future maintenance or sale of the bike recognizes the modification. If the mount requires drilling or permanent brackets, evaluate whether the modification is reversible.
Choosing the right mount for your ride — a practical decision checklist
Use this decision framework to narrow options quickly and logically:
- Define main use: Navigation, action camera, occasional checks, or purely parked-phone convenience?
- Decide on power: Do you need continuous charging? Wired or wireless? If wired, is a hardwired install acceptable?
- Assess your bike and preferred location: Handlebar, stem, mirror or fairing? Measure space and bar diameter.
- Consider exposure and theft risk: If you frequently leave the bike parked in insecure places, prefer removable mounts or pouches and plan to take the phone when you leave.
- Factor in vibration and ride type: For rough roads and adventure riding, prioritize cradles and dampers; for smooth urban commutes, lighter mounts may suffice.
- Check compatibility and manual: Verify the mount supports your phone size, case thickness and, if applicable, wireless charging alignment. Read the product manual and your phone’s documentation where needed.
For more on narrowing options, see our Phone Mounts Buying Guide for Beginners and comparison articles that explore specific designs and trade-offs.