RiderInstinct Editorial Team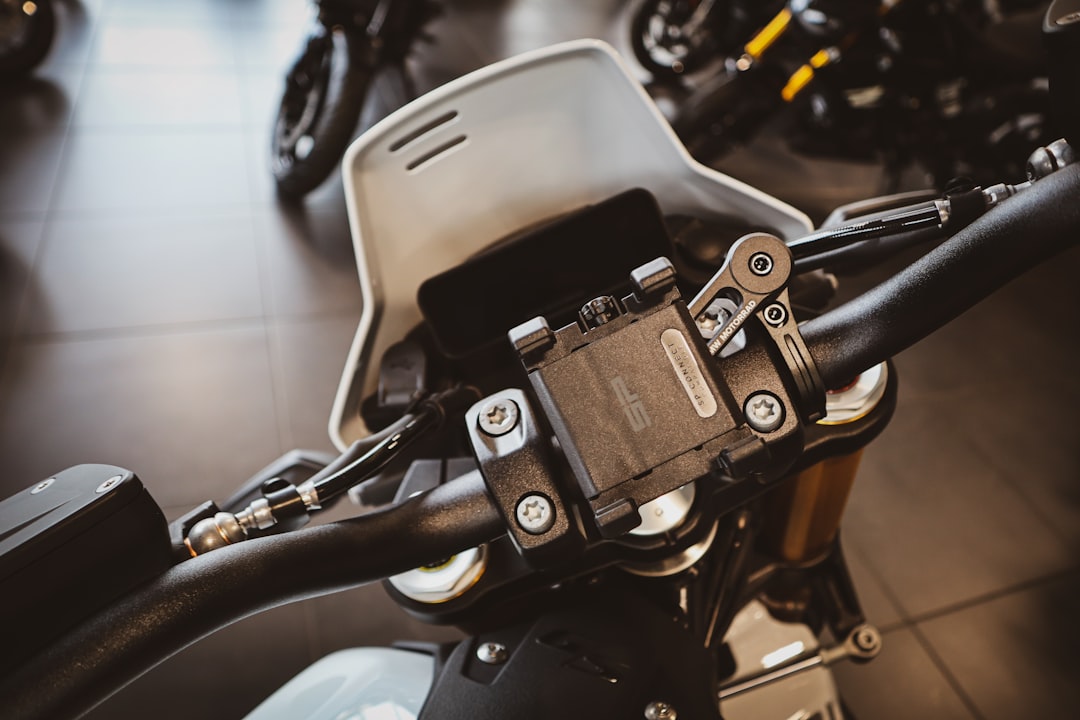
Why this matters — decision framework before you buy
Phone mounts look simple, but they sit at the intersection of safety, convenience and equipment longevity. Before choosing a mount, be clear about three priorities: visibility/usability (can you read or tap it while stopped?), protection (against vibration, weather and theft), and power (does your ride need charging?).
Trade-offs are inevitable: a rigid clamp gives the clearest camera and navigation stability but transmits more vibration to your phone; a fully-enclosed waterproof case protects and charges the phone but reduces touch access and can trap heat. Your riding style—commuting in town, long-distance touring, or spirited twisty rides—should guide which trade-offs you accept.
Start by asking: where will I mount it; how often will I interact with the phone; do I need charging; and how concerned am I about theft? The answers will narrow the mount types worth considering and help you avoid buying a mount that’s the wrong fit for your riding needs.
Common mount types and their trade-offs
Understanding the common mount designs helps you evaluate what will work on your bike and for your riding. Here are the principal types and their practical pros and cons.
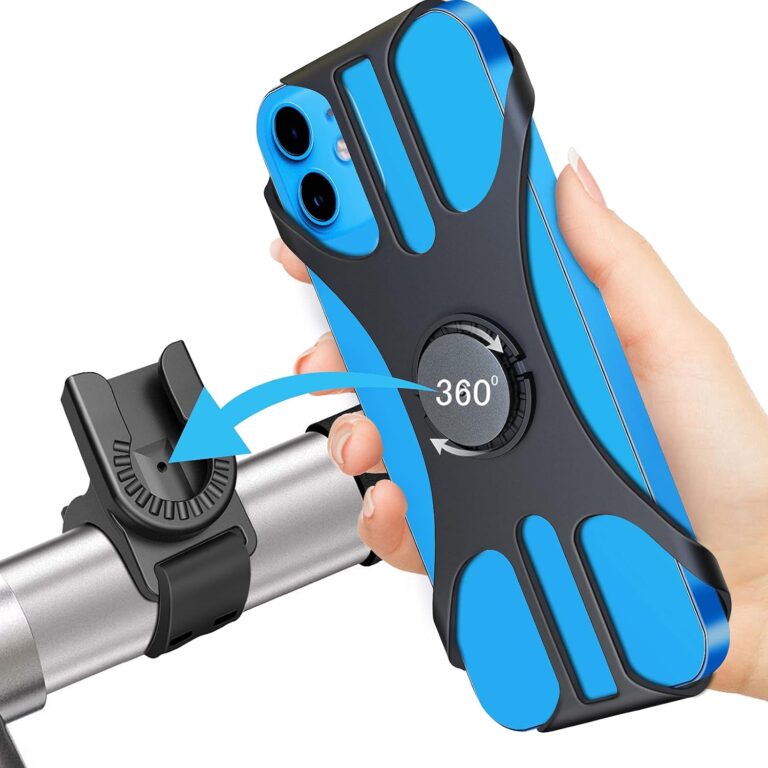
- Handlebar clamp / cradle: Attaches directly to the bar with a cradle that grips the phone. Pros: easy to install and access; many designs. Cons: can transmit vibration unless damped; may obstruct controls or grips on small bars.
- Ram ball / arm mounts: Uses a ball-and-socket joint for flexible positioning. Pros: very adjustable; some setups accept multiple heads. Cons: ball friction can loosen under vibration if not tightened properly.
- Mirror or fork-steerer mounts: Positions phone closer to the center, often smoother than bars. Pros: often less vibration; better sightlines on some bikes. Cons: fitment complexity; may affect mirror adjustment or steering geometry if not installed correctly.
- Tank bag / map pocket mounts: Keeps the phone protected and lower-light readable. Pros: natural storage and protection; good for touring. Cons: typically not suitable for constant interaction while riding.
- Enclosed waterproof cases: Fully sealed boxes with or without charging. Pros: excellent weather protection and some anti-theft benefits if they lock. Cons: can trap heat and limit touch sensitivity; larger footprint on the bars.
- Magnetic mounts: Use magnetic plates or integrated magnets. Pros: fast attachment and clean look. Cons: require strong magnets and a metal plate on the phone—verify compatibility and that the magnet won’t interfere with compass or sensors used by some apps.
Match the mount type to your priorities. If your phone is your primary navigation device on long trips, prioritize vibration control and secure clamping. If you rarely use the screen, a quick-release mount or tank bag may be better.
Vibration, damping and protecting your phone
Vibration from the engine, road surface and forks is the single biggest long-term threat to smartphone internals and cameras. Vibration-induced failures range from degraded image stabilization to cracked solder joints in extreme cases. While we cannot provide device-specific thresholds, you should assume that continuous high-frequency vibration is harmful.
Ways to reduce vibration impact:
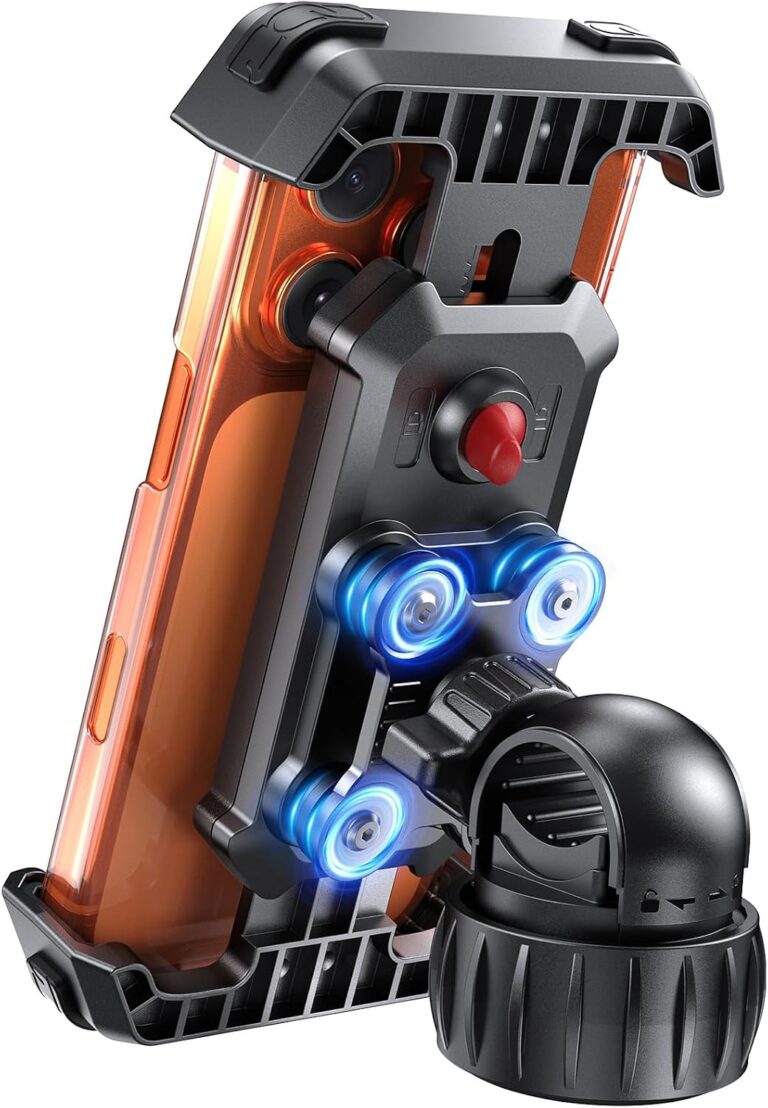
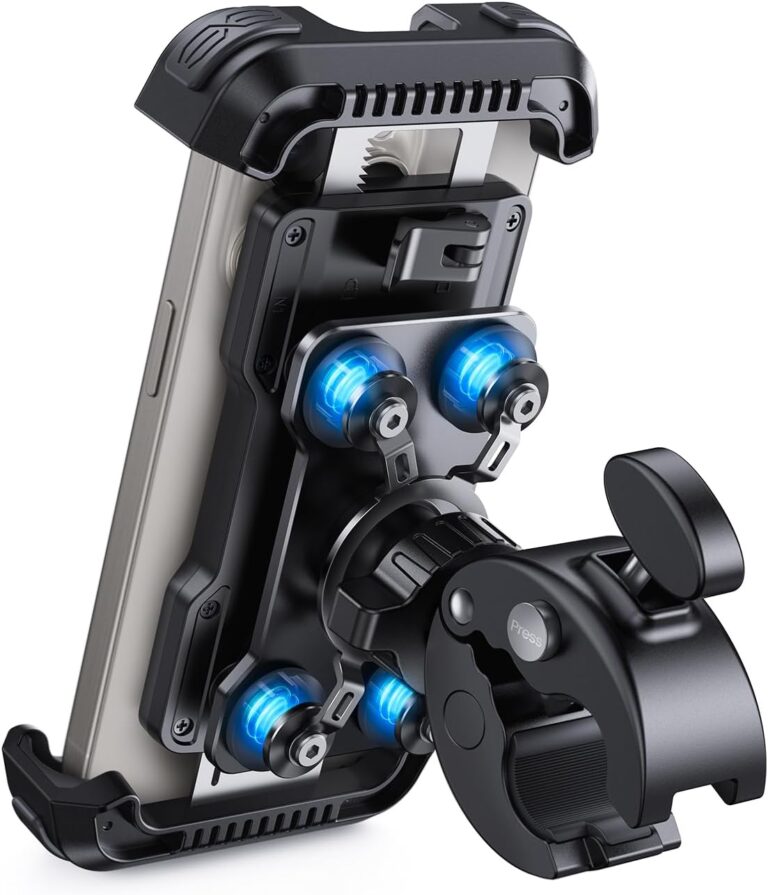
- Choose damped mounts: Look for mounts with rubber dampers or dual-spring systems. These designs reduce the amplitude of transmitted vibration but may add some movement at speed.
- Use protective phone cases: A rugged case with corner protection reduces shock from sudden impacts and contributes marginally to vibration resistance.
- Mount closer to the frame: Steering and handlebars can amplify vibration; where possible, mounting nearer the triple tree or on a tank bag generally yields less harsh vibration.
- Avoid over-tightening rigid arms: A very stiff, long lever can act like a tuned resonator. Properly tightened joints that still allow slight isolation are usually better than rock-solid rigid mounts.
Test a new mounting position on short rides at different speeds and road surfaces. If your phone camera footage or handling of the device feels buzzy, consider a different mount or additional isolation components. If preserving camera performance is important, give extra weight to damped cradles or mounts closer to the chassis.
Sightlines, ergonomics and legal safety
Phone placement isn’t just about stopping to glance—it’s about not compromising control or attention. Good positioning minimizes the time your eyes leave the road and reduces hand movement when you must interact with the device at stops.
Practical positioning rules:
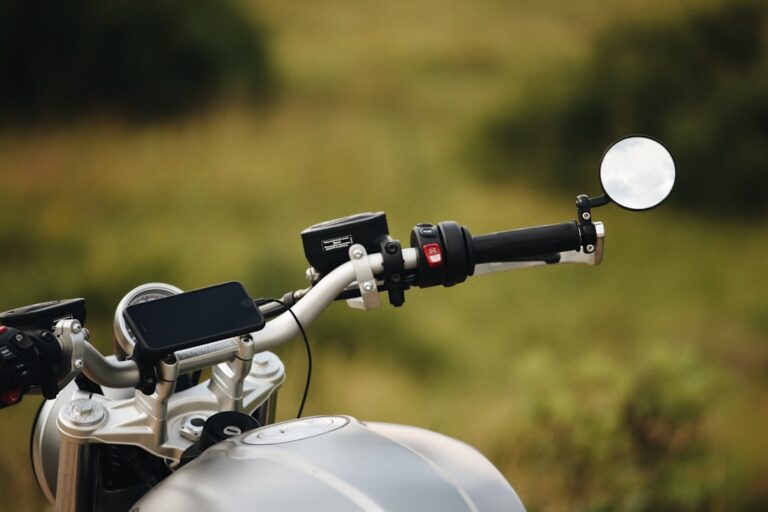
- Place the phone where you can glance at it with minimal head movement and without obstructing the cluster, mirrors or controls.
- Aim for the phone slightly below eye level, so your line of sight returns to the lane quickly.
- Keep claims and gauges unobstructed—if the mount blocks a critical indicator, reconsider placement.
- Know the law in your area regarding phone usage while riding: many jurisdictions restrict handheld interaction. Favor voice navigation and use the phone only when stationary, unless your setup is hands-free and fully compliant with local laws.
When planning routes, set destinations and waypoints before you ride, and use voice prompts or a connected headset for turn-by-turn directions. Minimizing the need to touch the screen is both safer and often legal.
Weatherproofing, charging and heat management
Weather and power needs influence the type of mount and accessories you should choose. If you routinely ride in wet climates, prioritize enclosures rated for water resistance and connectors with proper sealing.
Key considerations:
- Enclosures vs exposed mounts: Enclosures protect from rain, dust and splash but can increase cabin temperature. Exposed mounts allow heat dissipation but offer little protection.
- Charging while riding: Hardwired USB or dedicated QC/Wi‑Fi charging mounts can keep a phone topped up, but routing and connectors must be water-resistant and strain-relieved. If you choose wireless charging mounts, check compatibility and know that wireless charging generates more heat than cable charging.
- Heat awareness: On hot days, enclosed mounts and direct sunlight can raise phone temperature and trigger thermal throttling or shutdown. Avoid mounting the phone in direct midday sun when possible, and prefer ventilated enclosures or positions shielded by the fairing.
- Connector choice: Use marine-grade or IP-rated connectors and secure cable runs with zip ties or spiral wrap to prevent chafing. Always route cables away from moving parts and hot surfaces like the exhaust.
For electrical work beyond simple cable routing—like tapping into the battery or installing fused power—follow the motorcycle manufacturer’s guidelines or have a professional install it to avoid voiding warranties or creating safety hazards.
Installation basics and torque/security checks
Proper installation prevents loss of device, control interference and component wear. If your kit includes stainless hardware, washers and anti-rotation features, use them. Where the exact torque or mounting clamp pressure is safety-critical, refer to the mount and motorcycle documentation—do not rely on guesswork.
Installation checklist items and practical tips:
- Tighten bolts incrementally and evenly—avoid over-torquing or stripping threads. If the mount uses an expanding clamp, ensure it seats correctly around the bar and doesn’t pinch cables.
- Use threadlocker on bolts that might back out under vibration, but use a removable medium (e.g., blue Loctite) if you expect to remove the mount periodically.
- Check mirror and brake lever clearance through full handlebar travel. Turn the bars fully left and right after mounting to ensure no interference with controls or tethers.
- Secure cable runs with clamps or zip ties, leaving a service loop for steering travel. Keep connectors off the bars where they might rub against the tank.
- Perform short test rides at progressive speeds and re-check all fasteners after the first ride and again after the first 100 miles/160 km. Vibration can settle previously snug fasteners.
If you are unsure about safe mount torque values or the structural limits of adaptor plates, consult your motorcycle manual or the mount manufacturer. When in doubt, have a professional mechanic install or verify the fitment.
Anti-theft strategies and quick-detach options
Theft risk varies by area and how often you leave your bike parked. You have several ways to reduce risk without sacrificing convenience.
- Quick-detach mounts: Allow you to remove the phone in seconds when you park. They’re the most practical anti-theft solution for urban stops.
- Locking mounts: Provide physical locks but add complexity and cost; they’re useful when you can’t or won’t remove the phone but still want deterrence.
- Enclosures with locks: Offer weather protection and basic theft deterrence if locking hardware is robust.
- Don’t leave charging cables connected: Visible cables and exposed mounts are invitations. Tuck connectors out of sight when parked.
- Supplement with tracking and insurance: If the phone’s replacement cost is high, consider GPS trackers or ensure your insurance covers theft from the bike.
Quick-detach plus a habit of removing the phone when you leave the bike often gives the best balance of convenience and security for most riders.
Troubleshooting common problems and maintenance
Even a good mount can develop issues. Here are practical steps to diagnose and fix frequent problems:
- Phone shaking or poor camera footage: Confirm all joints are tightened to spec, then try adding or replacing rubber dampers. If the issue persists, try moving the mount to a different location closer to the frame.
- Screen not responding with gloves: Use glove-friendly mounts that allow quick detachment, or add a stylus compatible with motorcycle gloves. Some riders prefer physical control buttons on headsets instead of touching the screen.
- Intermittent charging: Inspect connectors for corrosion or loose connections. Check fusible links in the power feed, and verify the charger’s compatibility with your phone model. Secure and strain-relieve cable ends.
- Mount loosening under vibration: Apply threadlocker, check clamp fit (bars with thick rubber grips might need shims), and replace worn hardware. Consider a different mounting method if vibration persists.
- Water ingress: Replace compromised enclosures or seals. Use dielectric grease on exposed connectors to help prevent corrosion.
Regular checks—after heavy rides, long trips and before winter storage—will catch problems early and extend both the mount’s and phone’s life.
Picking the right mount for your riding style (examples and links)
Here are practical pairings of mount types with riding styles. These are examples to guide your decision—not endorsements of specific products.
- Urban commuter: Quick-detach handlebar mount with easy access and a short power lead. Prioritize theft avoidance and weather protection for short stops.
- Touring: Enclosed waterproof mount or tank bag with a clear sleeve and integrated wiring for continuous charging. Prioritize weather protection and lower vibration positions.
- Sport/track days: Minimalist ram-ball or mirror mount placed close to the triple clamp for better vibration control—preferably remove the phone before demanding riding or track sessions.
- Dual-sport/off-road: Rugged, vibration-damped cradles mounted near the frame or tank bag. Expect heavy vibration; durable cases and redundant protection are helpful.
For hands-on comparisons and model-specific reviews, RiderInstinct has dedicated articles that examine vibration-damping features and lockable designs. If you want to compare dual vibration dampener systems or specific lockable one-hand mounts, check our JOYROOM vs Lamicall comparison and the individual product reviews linked below:
- JOYROOM vs Lamicall Motorcycle Phone Mounts — Dual Vibration Dampener Comparison
- Lamicall Bike Phone Holder Review: Lockable One-Hand Handlebar Mount
- JOYROOM Motorcycle Phone Mount Review: Dual Vibration Dampener
- How to Choose the Right Phone Mounts for Your Riding Style
Use these articles to compare features like one-handed locking, dual dampers and anti-theft options against your practical needs.
Maintenance schedule and final test before trusting it on long trips
Before you count on a mount for extended trips, adopt a simple maintenance routine and run a checklist on a short test route.
- After installation: perform a static check of fasteners, cable routing, harness clearances and full handlebar sweep.
- Short test ride (10–30 minutes): ride over typical road surfaces and at typical speeds; re-check mounts and fasteners immediately after.
- After 100 miles/160 km: re-torque fasteners and inspect dampers, connectors and cables for early wear.
- Monthly or seasonally: clean contacts, inspect seals and replace worn rubber components. Replace bolts that show corrosion or thread damage.
If anything shifts, vibrates excessively, or causes interference with controls or vision during testing, address it before relying on the mount. For electrically integrated systems, verify fusing and connections per the manufacturer or a certified mechanic to avoid electrical faults.